29
It's almost Mother's Day and it's almost picnic season (that's a thing, right?) so I put together a fun DIY idea for the Kendall-Jackson blog: a folding wood tray that's perfect for picnics! I think this would be a great gift for your mom, tucked into a picnic basket along with her favorite foods and a bottle of wine. If you already have your Mother's Day gift squared away, you should still make this tray for yourself. It's seriously a picnic game-changer! Having a hard surface to place drinks on is essential (I've spilled sooo many things by letting them tip over on the grass), plus this tray is super cute and folds up for easy travel.
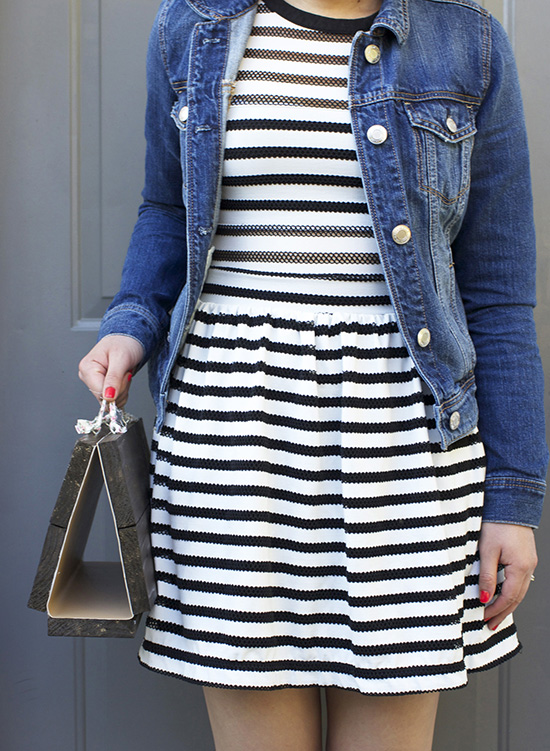
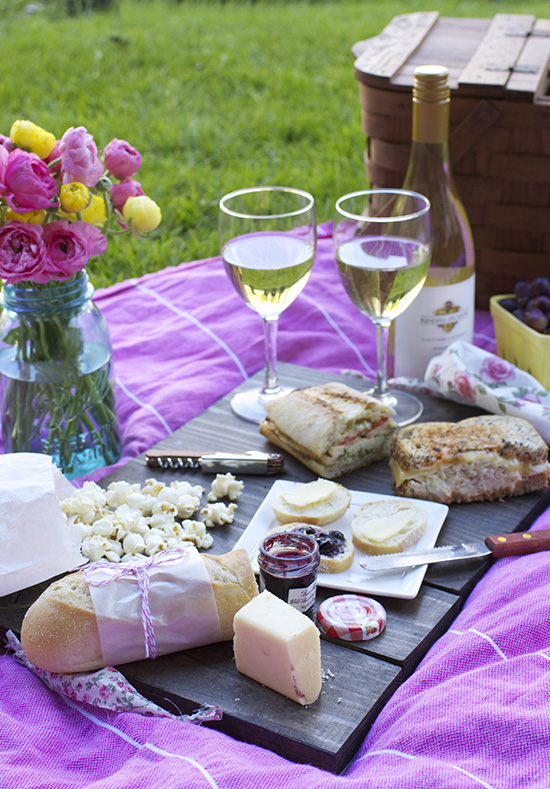
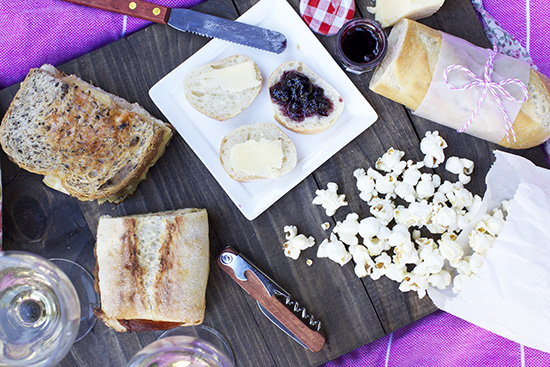
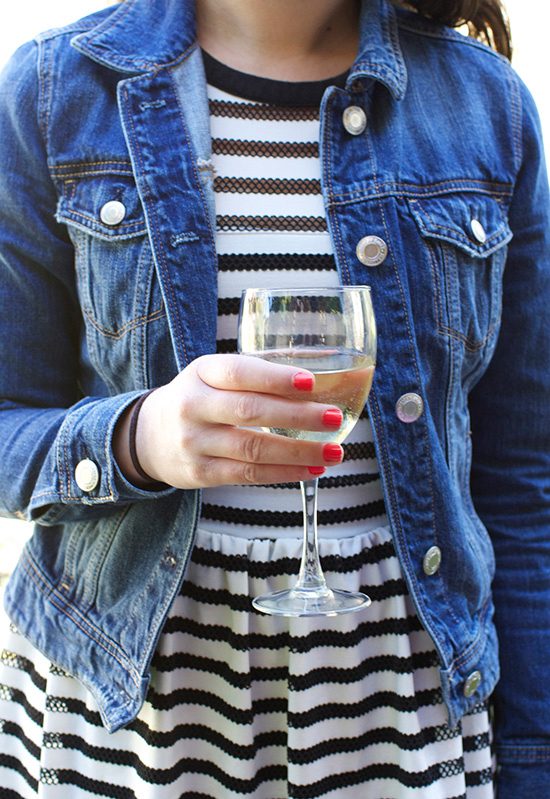
Here are some photos from a little picnic we had over the weekend! I had to test the tray out to see how it worked, after all :) We got sandwiches and truffle popcorn from our favorite little cafe in Edmonds, grapes, and (since we didn't have enough bread, obviously), a baguette with cheese and jam. To top it all off, we sipped some Pinot Gris from Kendall-Jackson. So good!
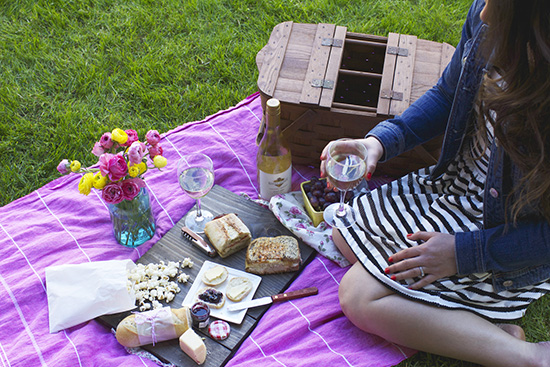
Plus, I filled a mason jar with ranunculus and brought them with us...that's what normal people do on picnics, right?? Haha.
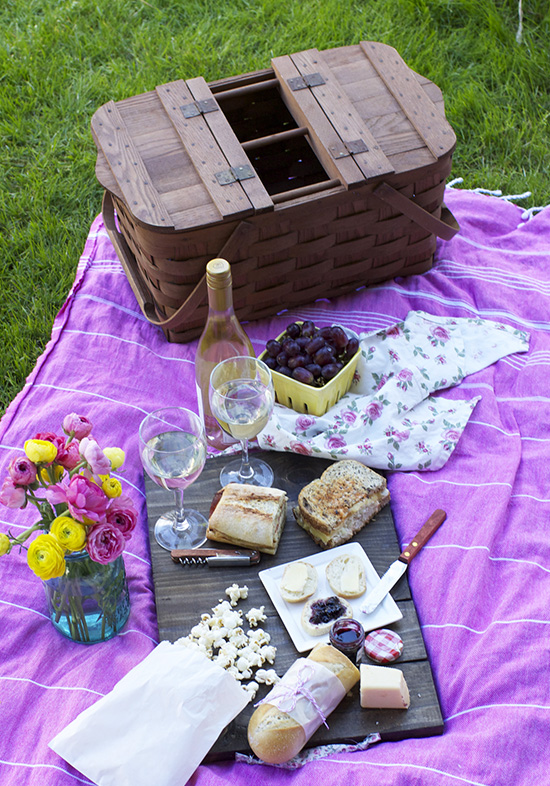
The folding wood tray worked out so well...I'm really happy with it and it's definitely a new picnic must-have! No spilled drinks, hallelujah.
Head over to the Kendall-Jackson blog to find out how to make the tray! Do you have a gift ready for Mother's Day yet?
Thanks to Kendall-Jackson for partnering with me on this post.
22
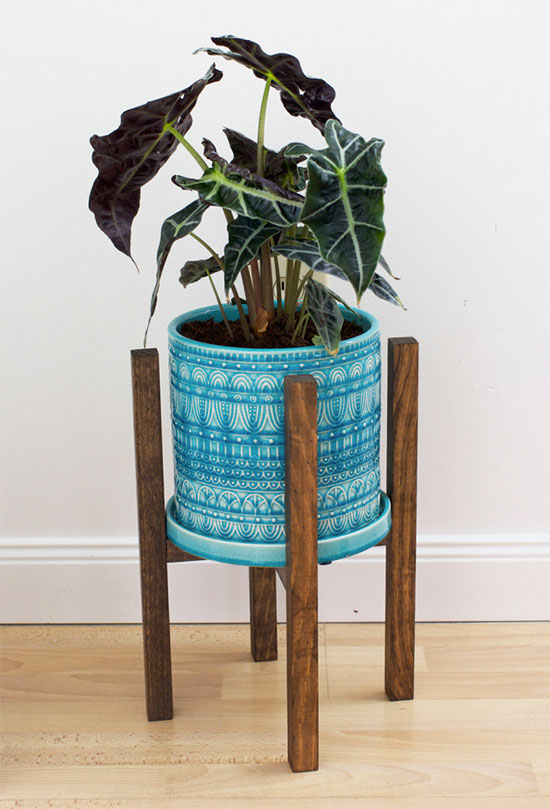
If you follow me on Instagram, you probably saw that I took a short vacation last week for Ben's sister's wedding in Colorado. It was a lot of fun (even though the weather wasn't the greatest)...but this week, I'm struggling with getting back into the swing of things. Vacations always seem to do that to me--rather than feeling rejuvenated and ready for work, I come back wanting more vacation! Siiiiigh. Anyways, while I was gone, Bali Blinds featured a DIY project that I put together for them, so I thought I'd share it with you all today. This project will literally take your plants to the next level and elevate your home decor...because it's a planter stand! I was inspired by this one from Modernica (which I still love), but since I couldn't justify the $189 price tag, I decided to make my own DIY version.
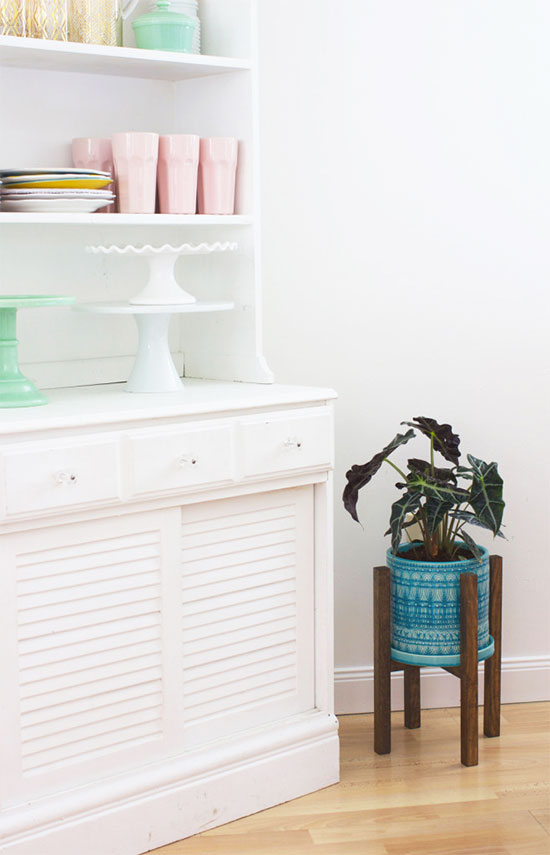
I adapted the instructions from another DIY project that I found on Pinterest, but I made mine even simpler, since I don't have a lot of power tools. It's not quite as pretty as the Modernica one, but it has the same clean, modern lines for a fraction of the cost--which is what DIYs are all about, amiright? And it really does make our plant look more fancy and important! So much better than just putting the pot on the floor. Get the instructions over on Bali Blinds, and let me know if you try this project! I'd love to see it.
Hope you like this DIY! How's your week going? If you're riding the struggle bus like me, take heart--we're halfway through the week.
20
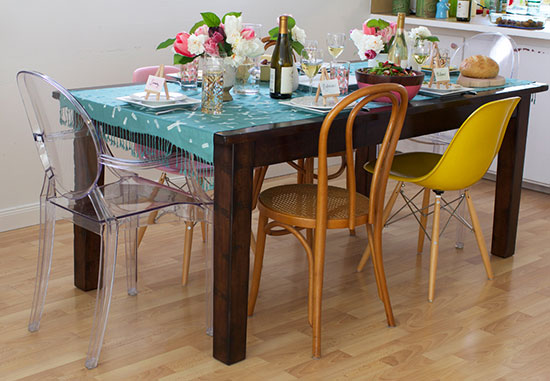
A couple weekends ago, my family was in town visiting (they live across the state), so I decided to throw my mom an early Mother's Day lunch! In addition to my mom and sister, I invited the women from Ben's side of the family (but no boys!) and took full advantage of the opportunity to go all out on decorating the table. I love any excuse to buy flowers and make a few DIY projects :) I kept the menu fairly simple and foolproof...cedar plank salmon, roasted potatoes, grilled asparagus, fresh rosemary bread, salad, and some delicious Chardonnay from Kendall-Jackson.
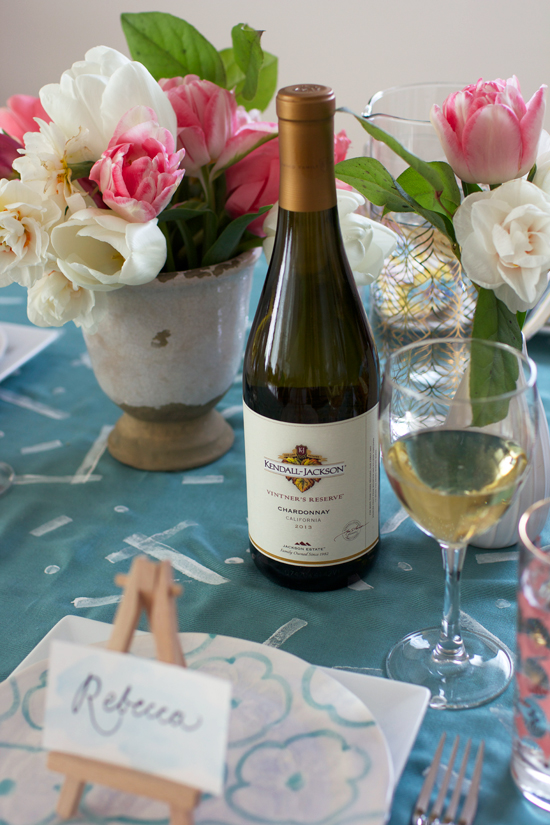
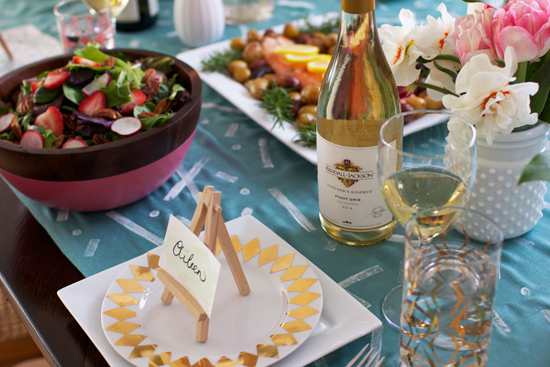
I got a bunch of flowers from Pike Place and made a block printed table runner (out of a scarf!).
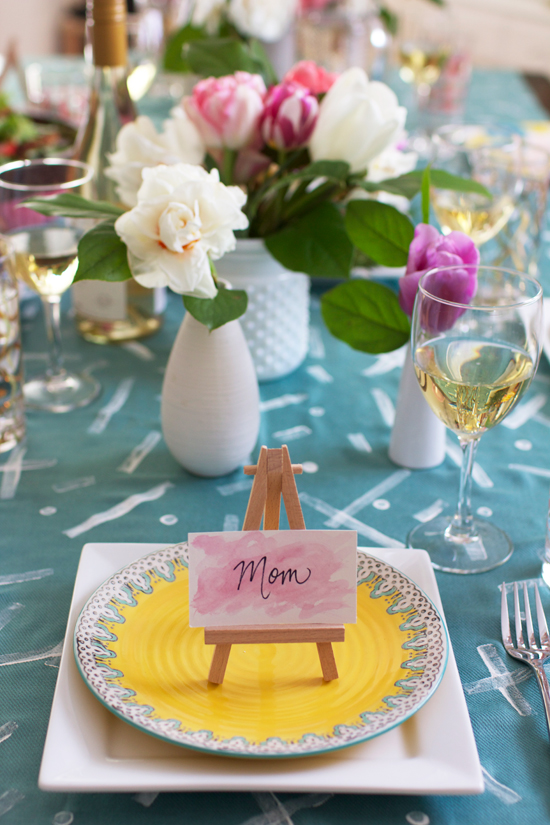
I also painted little watercolor place cards with each person's name, then put them on miniature wooden easels at each place setting.
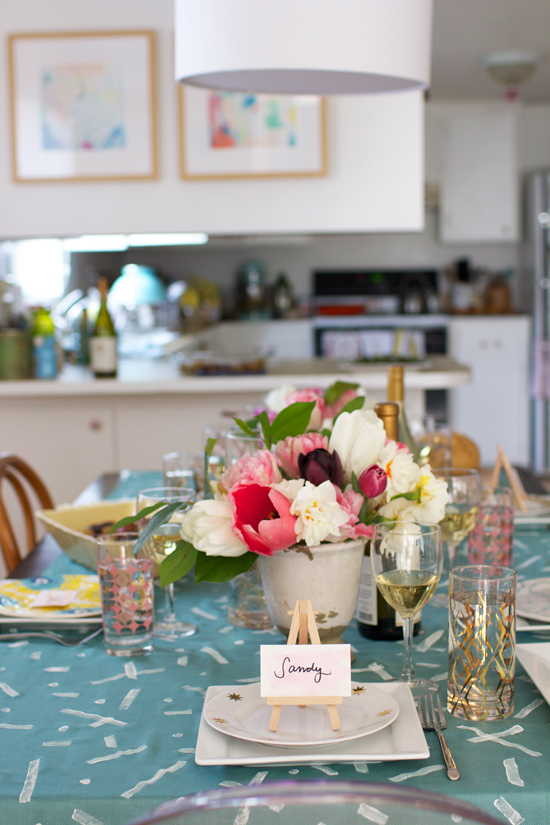

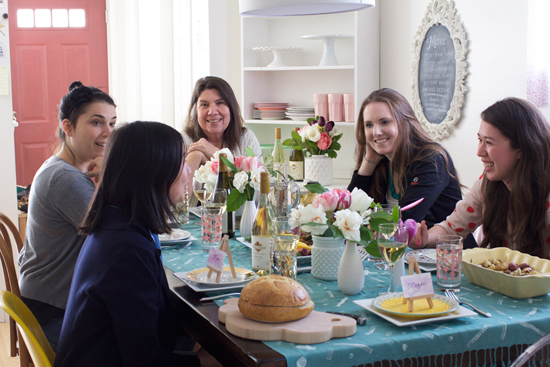
It was so fun to get everyone together! Check out the Kendall-Jackson blog today for more photos and instructions on how to make that block printed table runner. I also posted a recipe for the pears I made for dessert last week, in case you missed it!
Thanks to Kendall-Jackson for partnering with me on this post.
15
I shared a photo of these roasted pears with mascarpone on Instagram last week, and I promised that I'd give you guys the recipe...so here we go! This dessert is so easy to make and super delicious. Plus, since it's mainly fruit, I like to think of it as healthy (don't tell me if that's not true...I don't want to hear it!). I always make extra of the granola topping to snack on. It's so addicting, I usually end up eating it all that same day! Don't say I didn't warn you...
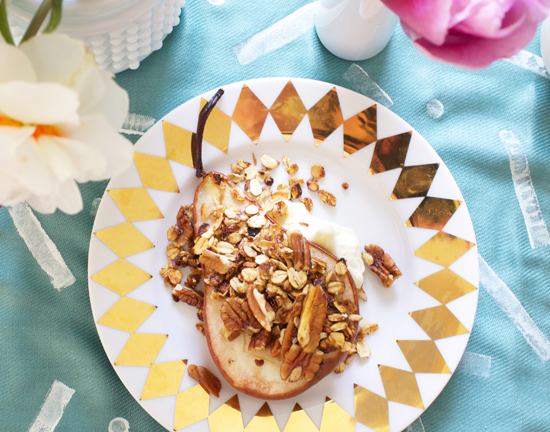
You will need:
2 Anjou or Bartlett pears
2 Tbsp olive oil
¼ cup pecan halves, coarsely chopped
2 Tbsp brown sugar
¼ cup old-fashioned oats
½ cup mascarpone
3 tsp sugar
To make:
Preheat the oven to 375°.
Cut pears in half and scoop out the cores with a spoon. Place them cut side up on a baking sheet and drizzle with olive oil. Roast in the oven for 20-30 min, until soft.
Meanwhile, toast oats, brown sugar, nuts, and olive oil in a cast iron skillet over med-high, stirring often, until golden (10-15 min).
Whisk mascarpone and sugar together in a small bowl.
Spoon the mascarpone onto dessert plates, top with the hot pears, and sprinkle on a generous amount of the granola topping. YUM!
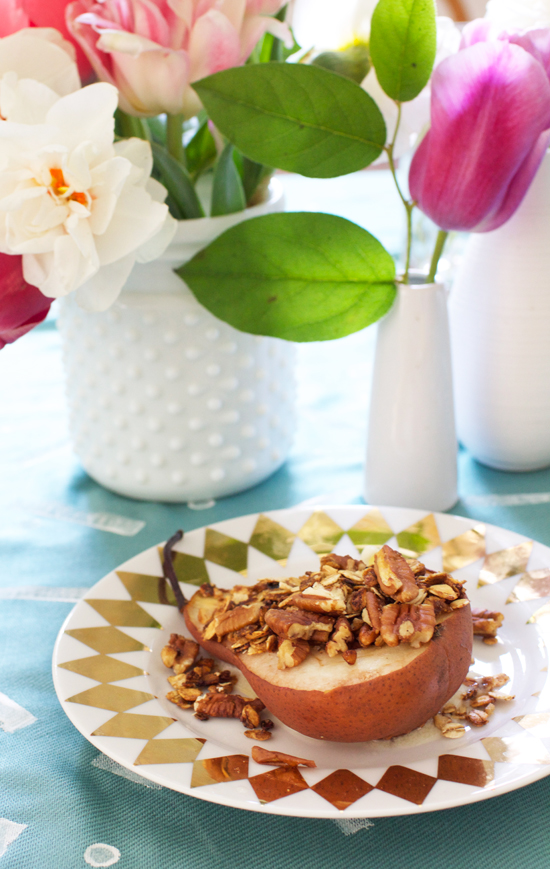
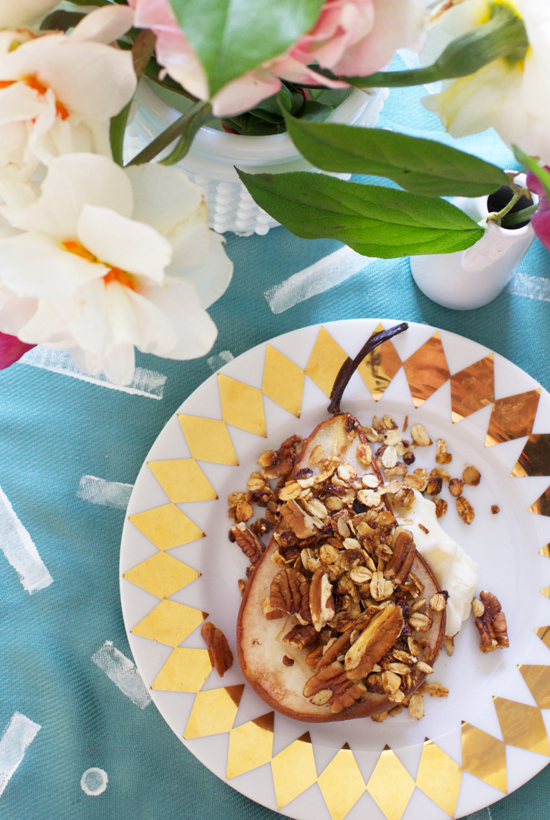
Hope you enjoy this recipe! I got it from a friend of mine who got it from Bon Appetit. If you check out their recipes, both of them do the granola a little differently. You can totally play around with it and load yours up with whatever you want: pumpkin seeds, hazelnuts, almonds, walnuts, coconut oil, etc. Have fun! And let me know if you try it.
What are your favorite easy dessert recipes? Send me links, if they're online! I'd love to try them.


