13
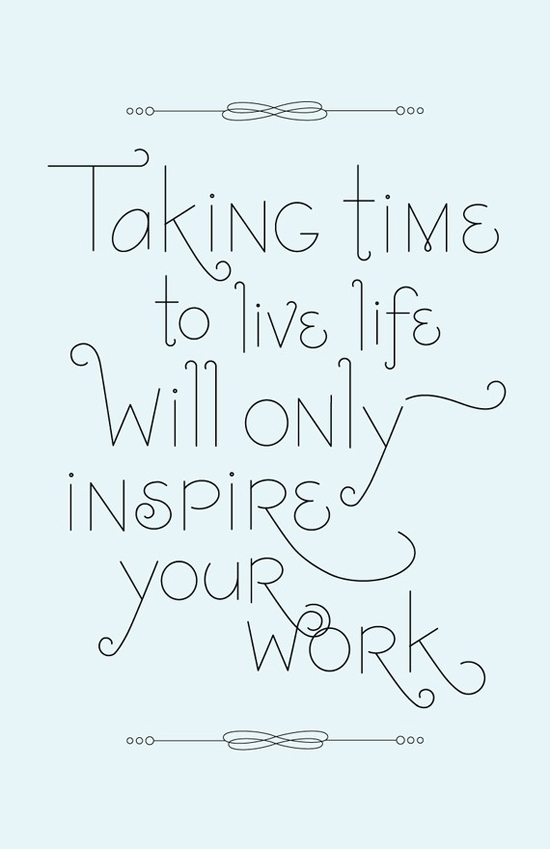
Whew, this week has been another busy one!! I'm still catching up from our weekend away...I finally finished putting away all the laundry we'd left in a big heap, only to put another load in! And last night I had to do a bunch of grocery shopping because the fridge was nearly bare. Needless to say, I didn't have a lot of time to put together today's post--but it worked out, because I've been wanting to do another "Thoughts for a Thursday" anyways! And the quote I picked is right along those lines: "Taking time to live life will only inspire your work." Don't you think that's a good reminder? I can tend to be a bit of a perfectionist and a workaholic when I'm in the zone and having fun with what I'm doing. I'll admit, sometimes I find it hard to tear myself away from the computer (or whatever task I'm working on). But there's always something more to get done! So I've been trying to say "yes" to life more, and I'm loving it. Every time I've worked out with Ben, hung out with friends, gone for a walk in the sunshine, taken a weekend getaway, etc. it's been really refreshing and rejuvenating. Plus, getting out there sparks fresh ideas--after all, the internet can be a stagnant pool with the same things recirculating over and over again. So living a little is not only good for your body and soul--it's good for your work too!
How have you all been? Are there any words of wisdom that have been resonating with you lately? What are your thoughts or experiences with this topic?
Poster via Etsy. See my first Thoughts for a Thursday here.

04
Well you guys, May flew right by, didn't it? I had a really great month. We used my birthday as an excuse to do lots of fun things (and probably spend a little too much money). And we had so many sunny days here in Seattle! I'm really hoping the good weather continues and we don't get a dreaded "Junuary." Here are some of my favorite Instagrams from the month of May. How was your month? What were some of your highlights and favorite things you did?

I won a new flat iron from a giveaway! // We found Hi-chew at our local grocery store. We used to get these in California all the time but we hadn't seen them here yet. They're like Starbursts...but better. // Ben and our niece, Pippa, at my in-law's house. // Waiting in line for the Scout pop-up shop. I got that light pink channel-back armchair in the front. // Lots of DIYs in this photo: our crate side tables, a doily pillow, and the beginning of my wood round coasters. // Our hugging salt and pepper shakers (aren't they cute?) and a yummy dinner we made. // Chopping veggies is more fun on my new cutting/serving board. // Our adorable little ring holder.

A little rearranging and styling in our house. // Air plants at West Elm. // Ben and I got a craving for beignets so we went looking for them in Seattle and had breakfast at Toulouse Petit. The beignets were alright, but my caramel french toast was amazing. // I went to a bridal shower for my friend Sarah. I loved the different flavored popcorns and the lavender Earl Grey cake! // It's peony season! One more reason to love May. This is a bouquet that my sweet husband brought home for me. // I went for an early morning hike (as in, leave at 4:00 am) with Ben and his friend Ken. We even made bacon at the top!
I really like Instagram--it's my favorite form of social media besides Pinterest. If you have one, I'd love if you follow me and say hello! I'm @athomeinlove.
31
I thought it would be fun to end this week with a little DIY project I did last weekend. And seriously, you guys, it's a super easy one. I've had this idea since December but I finally found the right log a couple weeks ago on a walk. It was just lying there in a park, so I rescued it ;) You could do this project with any kind of wood, but I was super excited to find a birch log. I think birch bark is so pretty!

The first step was to slice the wood. Ben handled this part for me (thanks hon!) and I peeled off the dirty outer layer. That was all I had originally planned to do, but I wasn't a fan of those gray marks in the middle so I decided to paint them. If you like the look of the wood rounds unpainted, you could definitely use them this way. So easy!


I didn't even have to clean the wood because that papery outer layer stripped right off...look how clean and pretty it was underneath!

I already had some paint colors at home so I got right to it. I painted one side of each slice, leaving a rim around the edge. I kept the other side unpainted, so I can always flip them over if I want a more rustic look. After the paint dried, I added a layer of varnish to seal it and add some shine.

Do you recognize the bracelet from my wishlist? It was my birthday present from Ben!

Here is the final result. I really like how these turned out, and the total cost was $0! Can't beat that.

I think these DIY coasters would make perfect little house warming presents or hostess gifts. I still have half a log left--I think that is what I will do with it. Just stack a few and wrap with lace or ribbon!

I hope you guys liked this idea! I'll try to share more of my projects with you every so often. I really love DIYs--especially quick ones that don't cost a lot. In fact, that crate side table in some of the photos is a DIY that Ben and I made after we first got married. We didn't have money to buy a bunch of furniture, so we stained some boards that we already had, built crates, stacked them, and then screwed them together.
What are some of your favorite DIY projects that you have done so far--or that you're planning to do?
29
I love having fresh flowers in the house; they cheer the place up, add color, and make it smell so good! This past weekend I picked a bunch of lilacs from our backyard and put them on our mantel. It was the most effortless arrangement ever--I just took an old milk pail out with me and packed it full. It was so easy, it made me start thinking about flower arranging. If I'm trying to mix different blooms together and have them look just right, sometimes it turns out well...sometimes not so much. But whenever I make a simple arrangement using only one type of bloom, it looks good. The next time you want some fresh flowers in the house, try taking a cute vessel (could be a bucket, a mason jar, a tea pot, or just a regular vase) and fill it up with all one type of bloom. Frustration-free and foolproof!

I never try to make arrangements look perfectly symmetrical. Lopsided, carefree bouquets look so much more natural anyways, so keep it casual and don't stress too much. Especially when you're working with all one type of flower, you don't have to agonize over where to put each stem.


These peonies are from my house too. Ben brought them home for me last weekend (he knows me well)! I can never decide if I like peonies better when they're more closed up or open like the ones above. They're so pretty either way.

You don't always have to put flowers in vases...in fact, I prefer non-traditional vessels for floral arrangements. Pitchers, ceramic crocks, and watering cans are some cute ideas. Whatever you can find around your house that can hold water! Even a tin can with the label taken off or an old medicine bottle would be lovely.

Now that I've told you what I think is the easiest way to arrange flowers, what are your favorite tips for arrangements that look good every time?
- Search
- Archives
