10
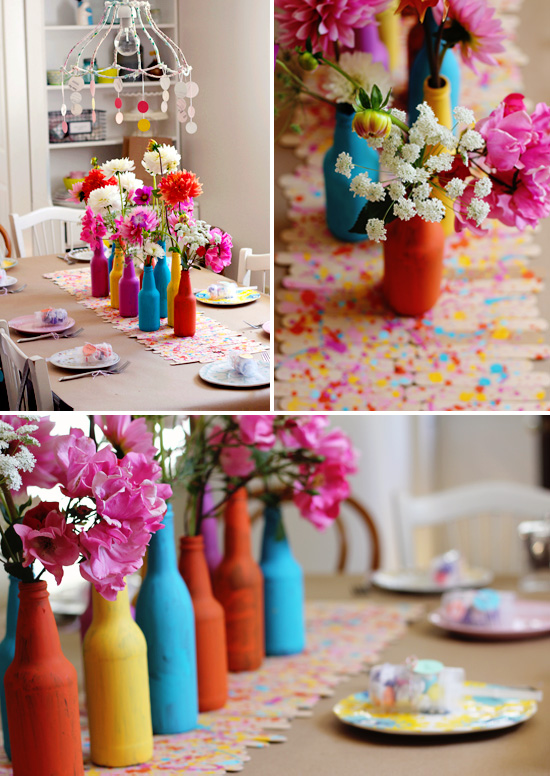
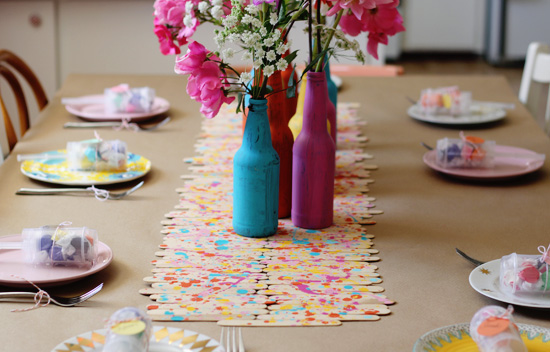
Last Saturday, I hosted a baby shower for my friend Jenn, who is having her first baby in September. It was a lot of fun to throw, and it turned out super cute! I planned it with my friends Ellen and Renae, who both posted about the shower on their blogs today too. Our theme was "about to pop," so we picked food and decor elements that had the word "pop" in them. We served lemon poppyseed cake, popsicles, white chocolate confetti popcorn, and soda pop, and for favors we put a push pop full of candy at each place setting. I painted soda pop bottles in our colors (pink, yellow, orange, and aqua), and we filled them with flowers from the farmer's market for the centerpiece. I loved how everything came together, but my favorite detail (which I'm sharing instructions for today) was the popsicle stick runner!
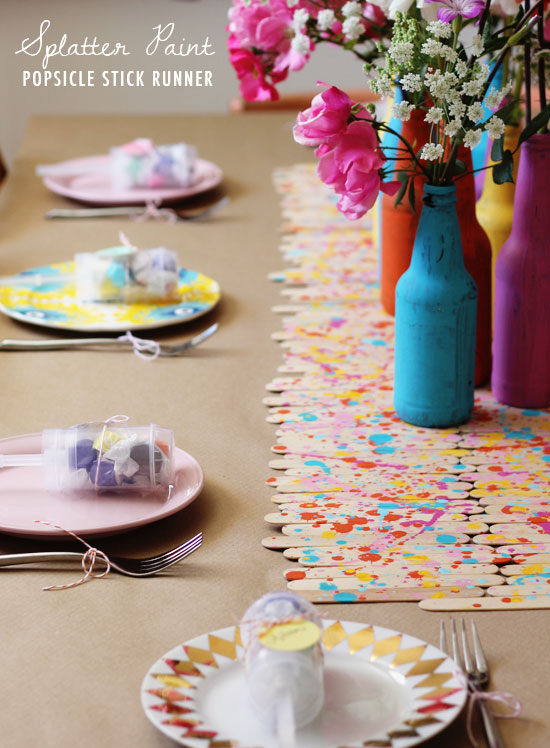
I was inspired by this runner, but instead of painting all the sticks individually, I decided to try splatter painting! It was a lot of fun, and a lot less time consuming than painting each and every popsicle stick. Plus, I think it fit the theme better.
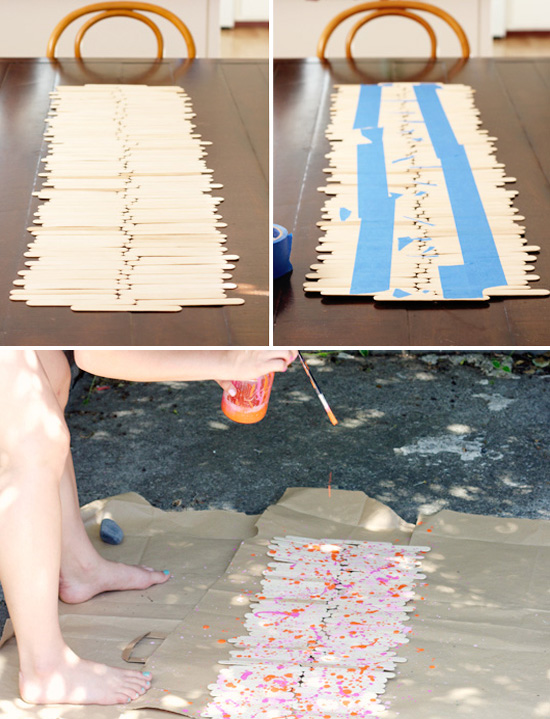
The first thing I did was to arrange the popsicle sticks on my table. I left room for a place setting at each end, and I purposely didn't line the popsicle sticks up perfectly. Once I had an arrangement I liked, I used blue painter's tape to connect them. I did long strips down each row, then little pieces of tape intermittently connecting the two rows. As you can see, I wasn't very scientific about this...it's the back side anyways. I set out lots of paper bags outside and laid my assembled runner on top of them (tape side down). I'd recommend laying down more paper than you think you'll need and wearing clothes that you don't care much about, because the paint will get everywhere!
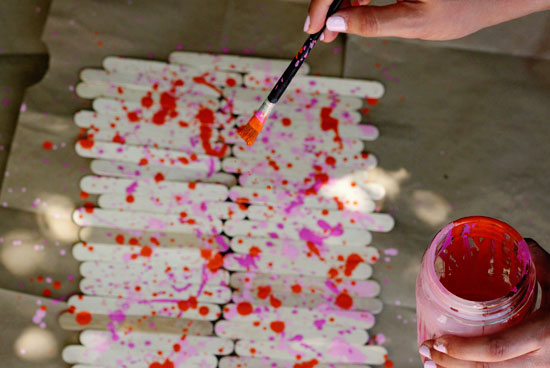
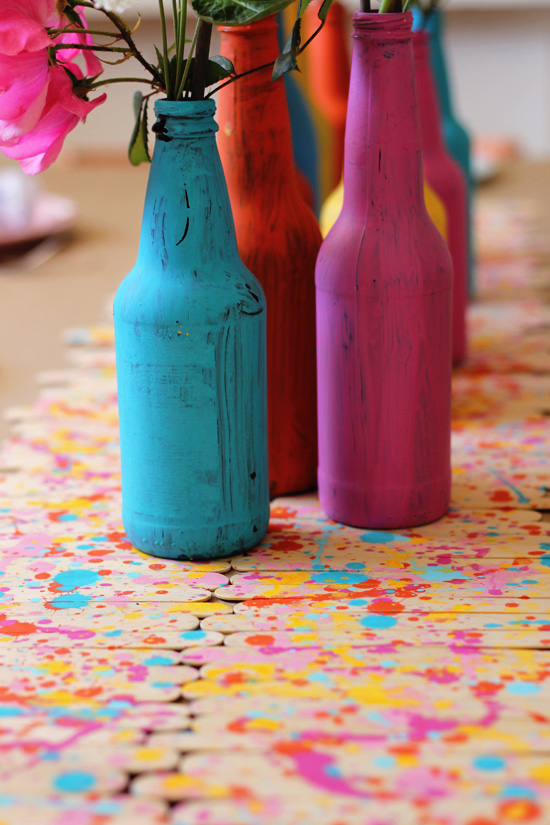
For the paint itself, I used acrylic paint diluted with a little bit of water to make it more runny. Don't add too much water--just a splash so that the paint will drip off the brush freely. The splattering part was super fun! It's supposed to look messy, so I just went for it and tried some different techniques. Holding the brush a few feet above the runner creates a nice round splash when the paint drips off. Flicking your wrist (a little closer to the runner) makes streaks that look like little comets. I think a mix of both methods worked well.
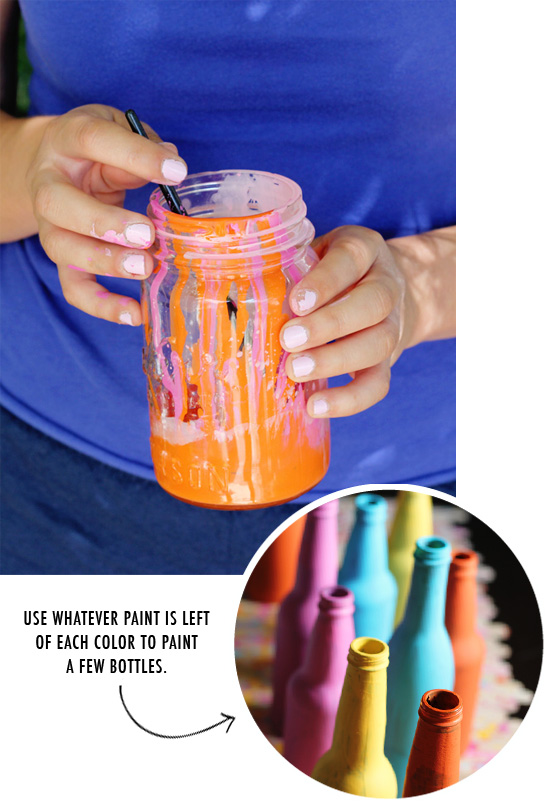
After I finished using each color for splattering, I painted a few soda bottles with the remaining paint in the jar. I liked how it left the bottles a little streaky and painterly.

On the day of the shower, we laid down kraft paper, then put the runner and bottles on top of that. We also made garlands (like the one on the back of the chair) by punching out circles from paint chips. It's kind of a genius idea, if I do say so myself...paint chips are free and you can get them in every color! We also hung some of the paint chip circles from my dining room light. You may remember my post on stripped shades--I finally put mine up! I decided to wrap it with fabric strips...for now anyways.
Have you ever tried splatter painting something? Even if you don't do a popsicle stick runner, I'd totally recommend giving splatter paint a try. I can see this looking awesome on pillows, a tablecloth, some dinner napkins, etc.
See more details from our shower (including our cute DIY onesies) in Renae's post and Ellen's post.

04
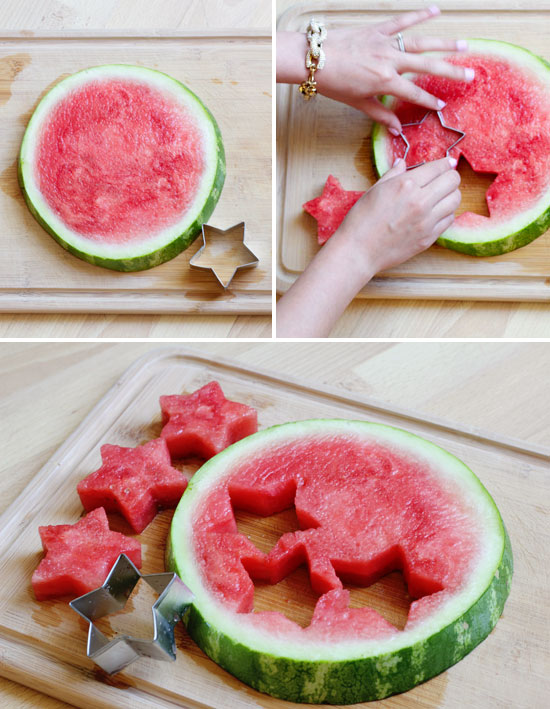
Happy Fourth of July! I wanted to share a fun last-minute idea to add some patriotism to your table. Use a star shaped cookie cutter to cut up a watermelon and make it super cute and festive! You could also do this with other types of fruit--strawberries, cantaloupe, pineapple, etc...but watermelon is so easy to cut, and it's red, which makes it perfect for today.
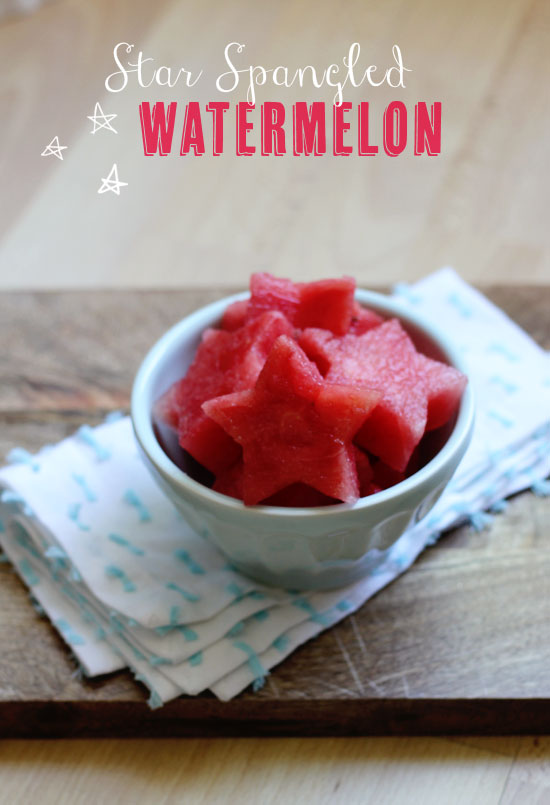
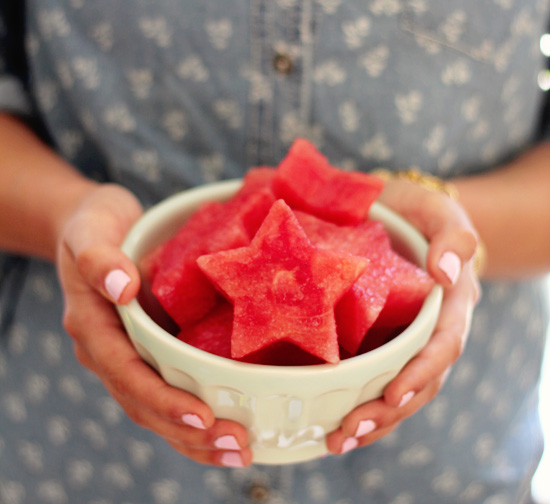
All you do is slice the watermelon into rounds that are about the same height as your cookie cutter (or a little shorter). Then press the cookie cutter firmly down and pop the watermelon out. Easy!
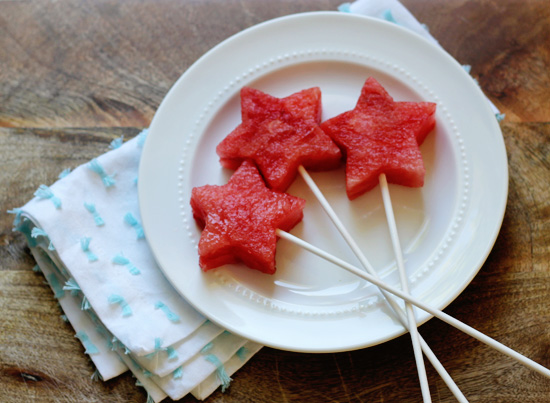
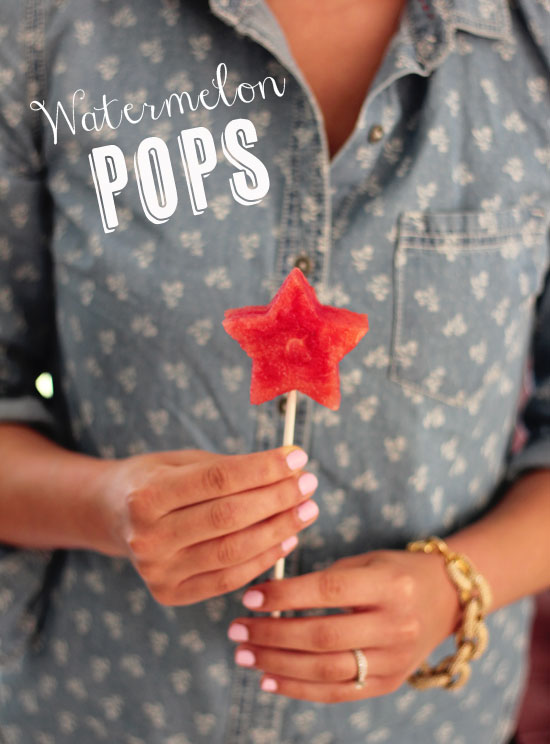
I had a few lollipop sticks lying around and I thought, why not make watermelon pops? These may not be that practical for a big family gathering--they'll be gone in just an instant--but they do look super cute! You could also slide on several pieces of fruit to make each stick go a little further, kabob-style. If you don't have any lollipop sticks, go to Starbucks and grab some stir sticks while you're there!
If you see this post a little too late for Independence Day, don't worry--it's an idea that could work for any kind of party! You could do hearts for Valentine's Day or numbers for a birthday party (do the age that the birthday kid is turning). The possibilities are endless!
What do you all have planned for today? We are going to a parade this morning, a barbecue at my in-law's in the afternoon, and watching fireworks at night! I hope you all have a fun and star spangled holiday--I'll see you here tomorrow.
03
Summer is just zipping right along--I can hardly believe tomorrow is the 4th of July! This week is turning out great for me...we've been a bit slow at work, so not only did I have Monday off, but I also have half days today and Friday. And of course, I get tomorrow off too! It's almost like being on summer break (almost). And the weather here has been g-l-o-r-i-o-u-s! Sunny, cloudless skies and temperatures in the 80's. I've been loving wearing shorts and tank tops, making root beer floats, and going down to the beach almost every day. Summer in Seattle is a beautiful thing! These are some of my Instagrams from this past month. Here's to hoping July is just as nice (or better!)
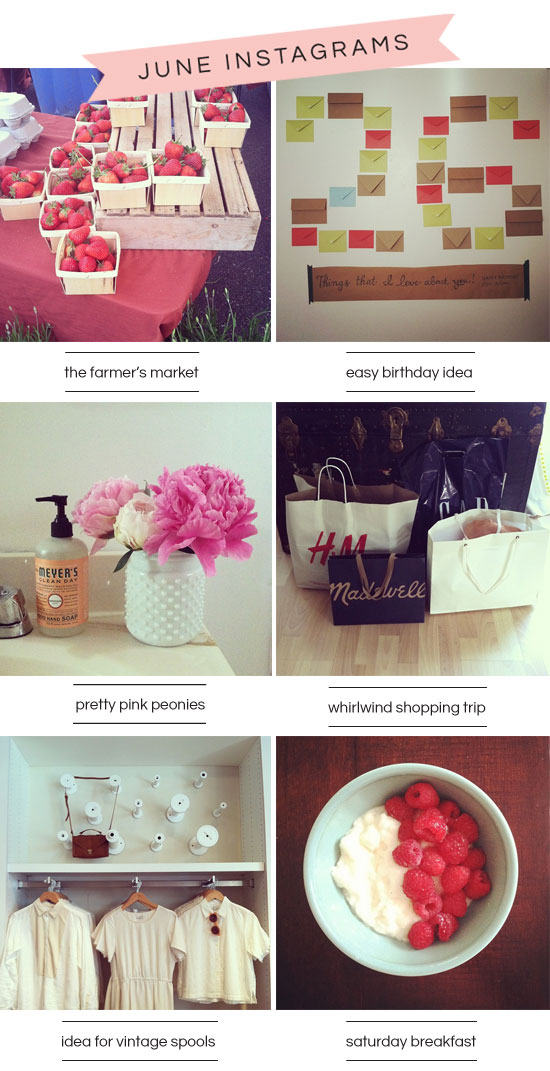
I loved the cute berry baskets at our local farmer's market / I made this birthday wall for Ben, with envelopes spelling out his new age (26). Each envelope had notes with things I love about him, interspersed with giftcards and notes telling him where to find gifts. I think this is a great idea that could also be used for kids...it adds a fun, surprise element / My favorite thing about June is probably all the peonies!!! I picked a bunch from Ben's parent's backyard and filled our house with them / Getting off work early last week meant I had a few hours to go shopping. With all the sales that were going on, I ended up getting a lot! / I thought this idea at Madewell was really cute. I have a vintage spool that I might turn into a hook for bags, jackets, scarves, etc. / Rice pudding & raspberries is a delicious breakfast combo. Try it!
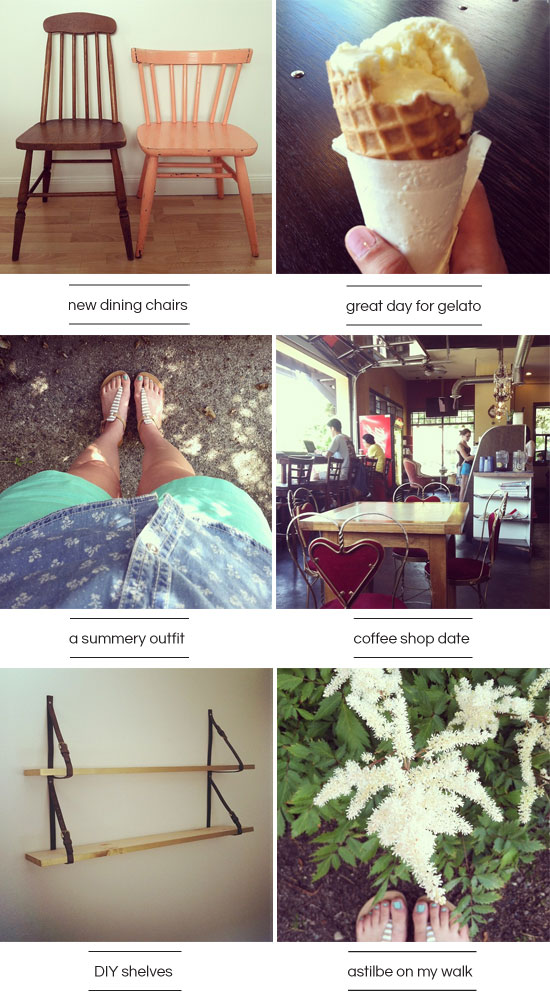
I got some new dining chairs over the weekend--$15 each / I went to get gelato at a new place by my house (twice!) / I painted my toenails, and had to take a photo when I realized they matched my shorts / Ben and I got crepes at a cute coffee shop near our house / We put together some DIY shelves! More photos of this project coming soon / I spotted some astilbe when I was on a walk. So pretty!
What were some of your highlights from this month?
02
This weekend I did a little quick DIY that is so easy, it's really kind of silly. But I thought I'd share anyways! We finished up a bottle of hand soap and I noticed the shape of the bottle looked kind of like a little bud vase. So I thought, why not? I always have a hard time throwing things away--I have milk bottles, tin cans, soda bottles, etc. that I've hung on to because I think they might come in handy later (and oftentimes, they do). All you fellow semi-hoarders out there, here's a good reason to hang on to your empty soap dispensers!
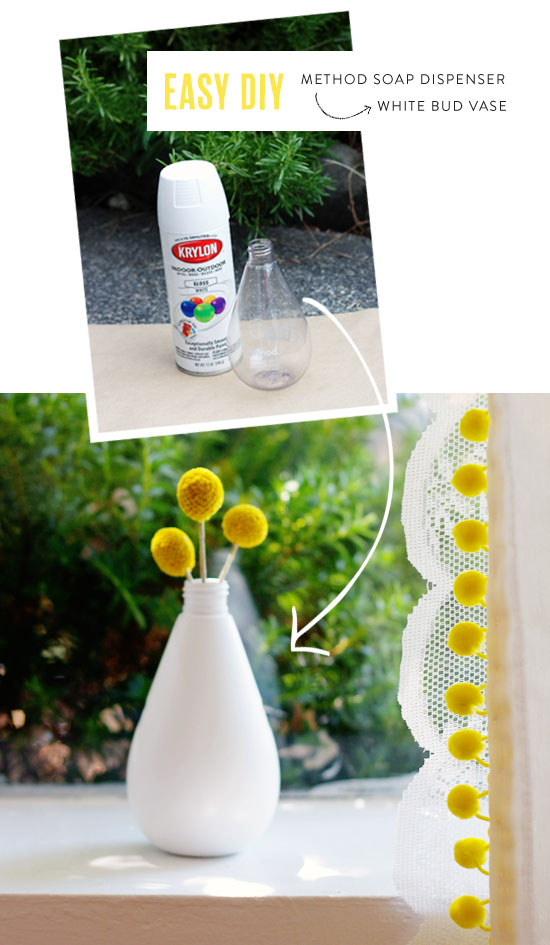
Literally, all I did was spray paint an empty Method soap dispenser bottle. You could saw the top part off (where the pump screws in) if you want, but I don't mind the way it looks. Isn't it cute how the billy balls match the ball fringe on my living room drapes?
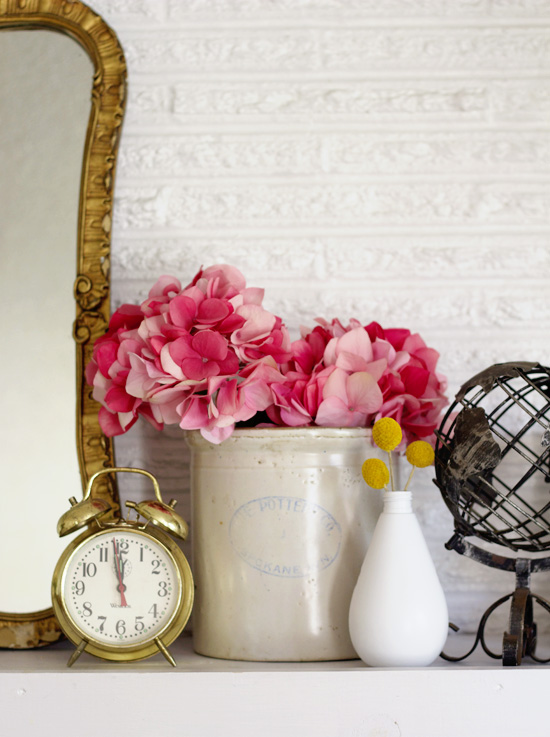
Here it is, mixed in with some other things on our mantel! The mirror is a new piece I picked up from Goodwill this weekend, and the crock is new as well (it's from Spokane--my hometown--so I couldn't resist when I saw it at the antique mall by my work).

The metal globe is another one of our favorite knick-knacks. We got it at a flea market in San Diego when we were on vacation--for $3! Oh, and the billy balls in the vase are from our wedding...they're dried now, but still cute.
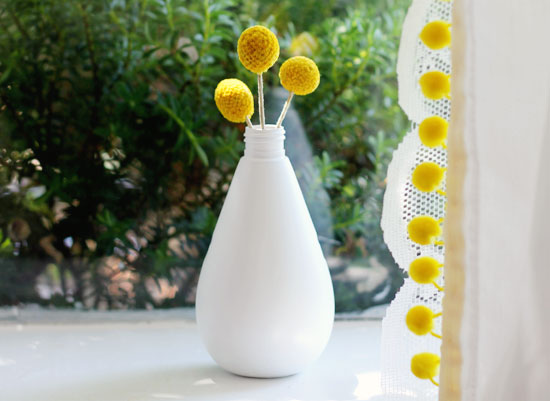
If you're in need of a vase, why not rescue something from the trash and spray paint it? I really like bud vases, because you can stick just one stem in there and it looks good--or three small ones, like I did. What projects have you all been working on? I did a bunch over the weekend, so I'll have more to share over the next couple weeks!
- Search
- Archives
