29
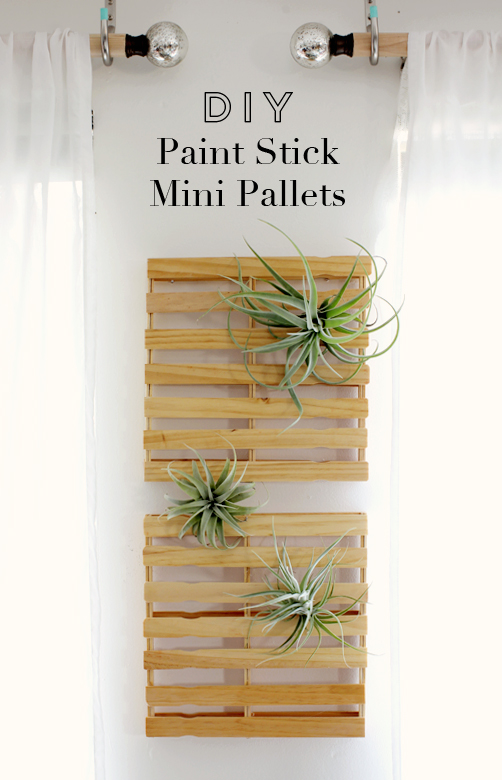
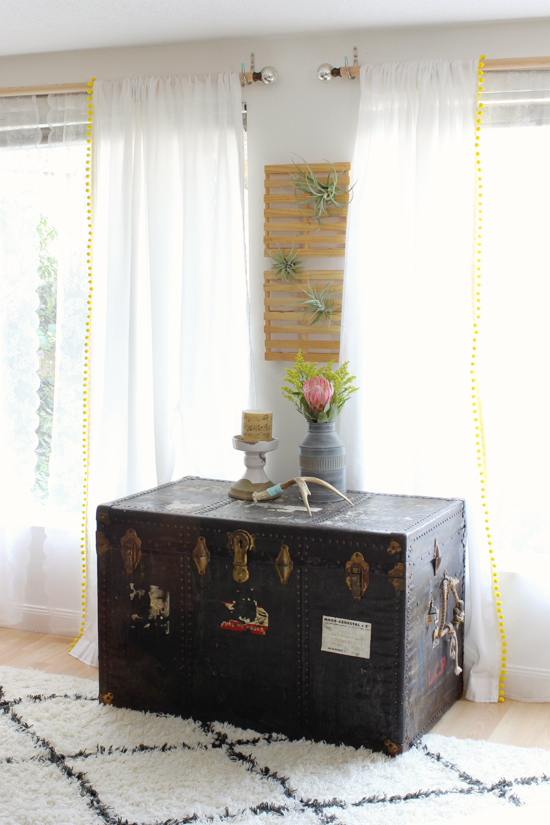
Two DIYs in one week? I know!! This project is actually one that I created for The Proper Pinwheel awhile ago. I thought I’d share it with you guys as well--plus show you how I’m using these mini pallets in my house. I originally thought they’d be cute as a table runner, placemats, or a cake stand…then I ended up mounting them on my wall and sticking my new airplants in them. I like this look even better! We also considered turning one into a mail organizer and adding hooks at the bottom for keys and stuff. The possibilities are…well, not endless, but there are a lot!
What sparked this idea was all the different shipping pallet DIYs that I’ve seen over the last couple years. Seriously, pallet projects have been all over Pinterest and the blogosphere--don’t tell me you haven’t noticed. I really like the way they look, but Ben is firmly against bringing a pallet into our house. And after hearing about all the chemicals and grossness that are on shipping pallets, it’s probably for the best (although I have to say…the pallet bed I posted awhile ago is super cute). So when I thought of this idea, it seemed like the perfect way to get my pallet fix in a clean, cute, and Ben-approved way. Plus, anything miniature is always a win in my book.
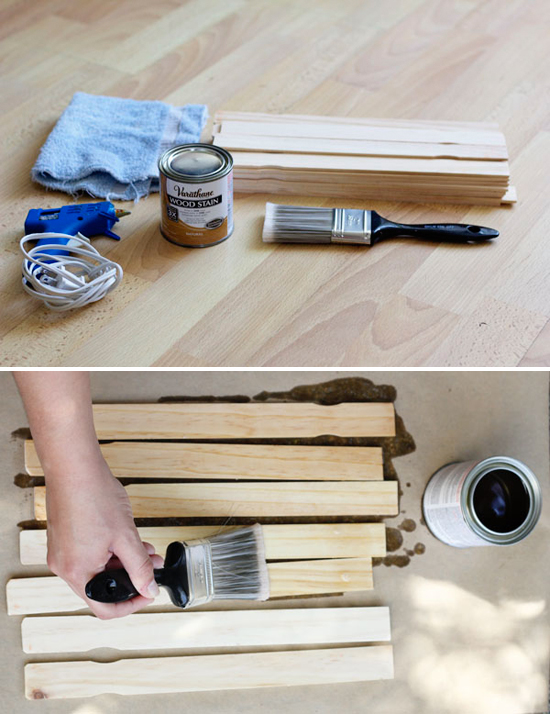
You will need:
16 paint stir sticks per pallet. You can buy them in bulk online, or pick them up for free at your local hardware store
Natural/light colored wood stain (optional)
Hot glue & hot glue gun

Directions:
Stain the paint sticks for a more realistic color. You can skip this step and leave your wood untreated if you’d like. If your stir sticks have writing on one side, glue together three sets of two, writing side in. Lay down three stir sticks (writing side down), at the length of one stick. Glue crosswise the three sets of sticks that you already glued together–one on each end and one in the middle. I didn’t measure where to put the middle set, and mine turned out just a little bit off. It’s probably a good idea to measure where the middle is and mark it first, so you know where to place the glue. Don’t be impatient like me! The last step is to glue the last seven sticks on top, laying them flat with the writing side down.
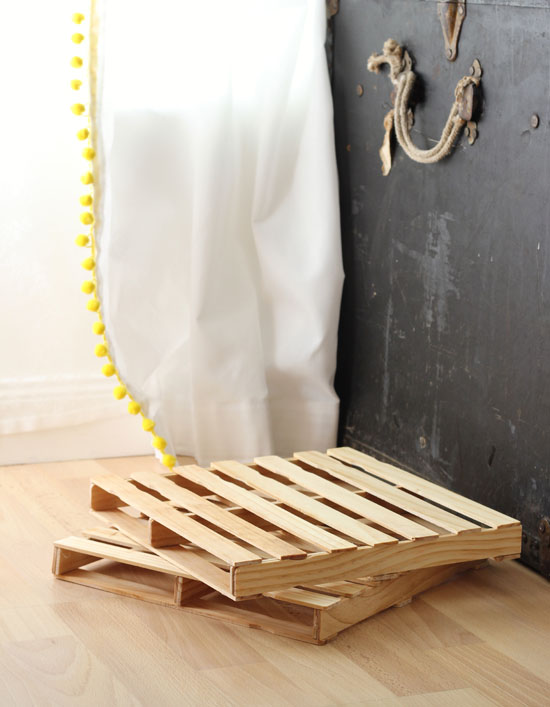
And that’s it! Super easy, miniature pallets.
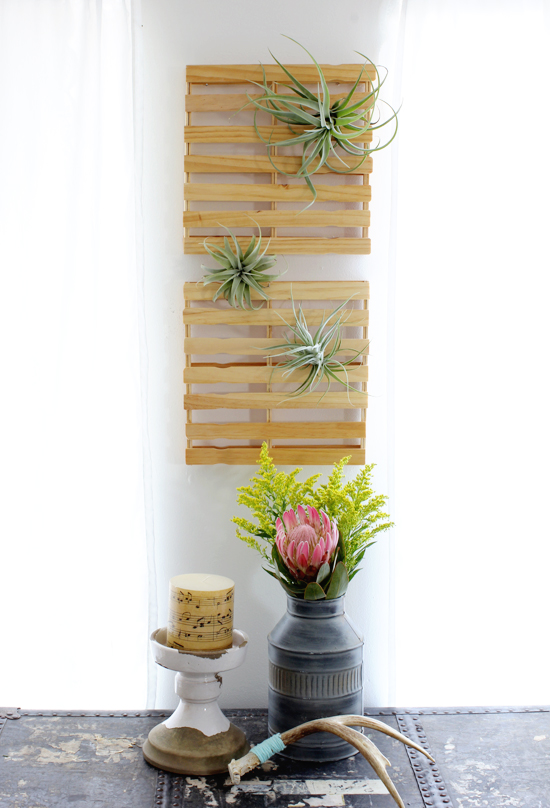
And here they are in my house! Aren’t my new airplants cute? I just love them. Fingers crossed that I won’t kill them!
What do you guys think of this project? See how I originally envisioned them (as a table runner) on The Proper Pinwheel.

28
Happy Tuesday, you guys! I am so excited to share this awesome giveaway with you today. I’m partnering with PlushRugs.com, who have generously offered to give one of you $300 toward any of the rugs on their site. If you’re in the market for a rug, you’ve got to check them out. They have a huge selection. And let me say, even if you haven’t been actively looking for a rug, you should still enter this giveaway. Because every room of the house can be improved with a cute rug! Yes, bathroom, kitchen, and your outdoor patio included. Since there are a ton of options, I thought I’d show you some of my favorites, with some inspiration photos from real homes that have similar rugs. Ready? Let’s do some rug shopping.
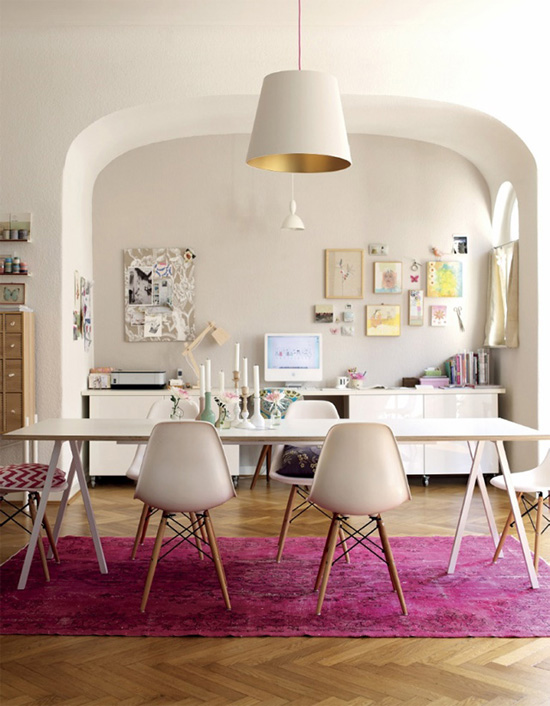
1. Overdyed rugs. I’ve been kind of obsessed with overdyed rugs ever since I saw the one above in Holly Becker’s house. Remember how I mentioned that I wanted to get a pink one in this post? Yeah, Ben nixed that idea, but I’m still hopeful that I can sneak an overdyed rug into our house somewhere. They’re a great way to add color!

Rug Sources: 1. Demi Overdyed (Funky Yellow) 2. Genisa Overdyed (Pink) 3. Demi Overdyed (Pink) 4. Demi Overdyed (Turquoise)
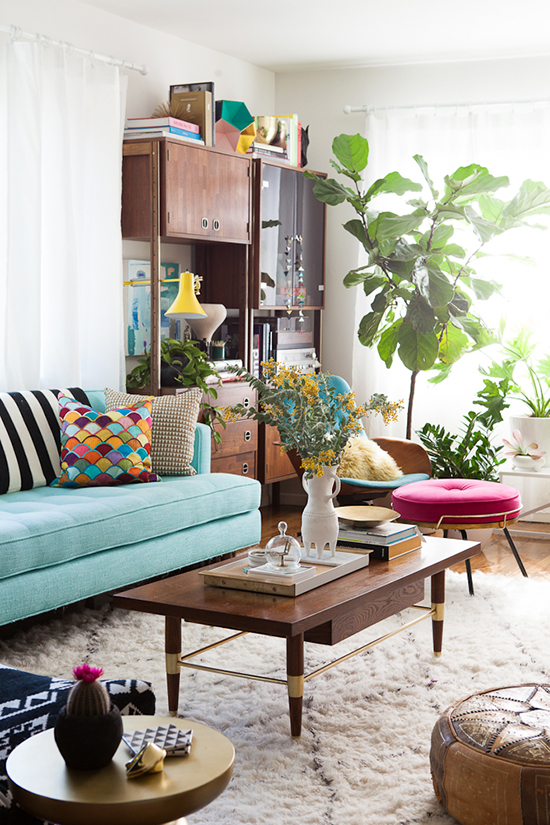
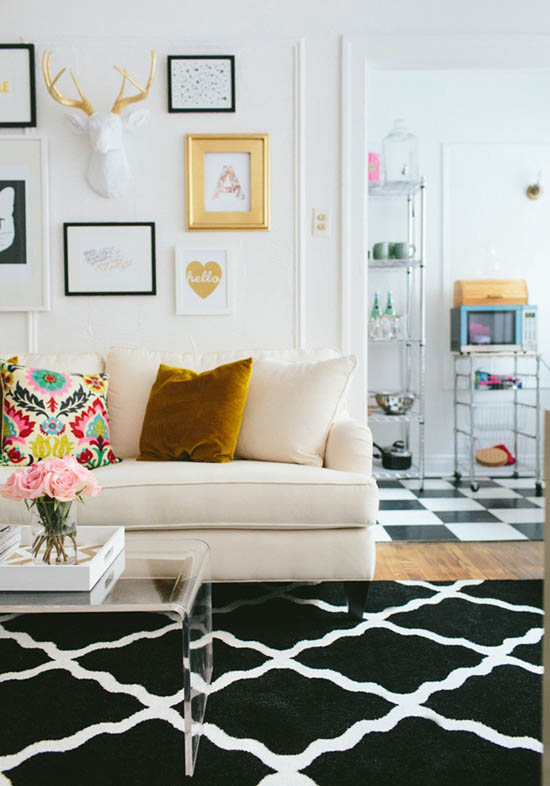
2. Black and white shag rugs. This type of rug is hugely popular right now, and for good reason! They’re neutral enough that they can mix with any kind of decor, but quirky enough that they add some visual interest. And they’re sooo cozy and soft underfoot. See how well a black and white rug works with all the bright colors in Bri Emery’s living room?
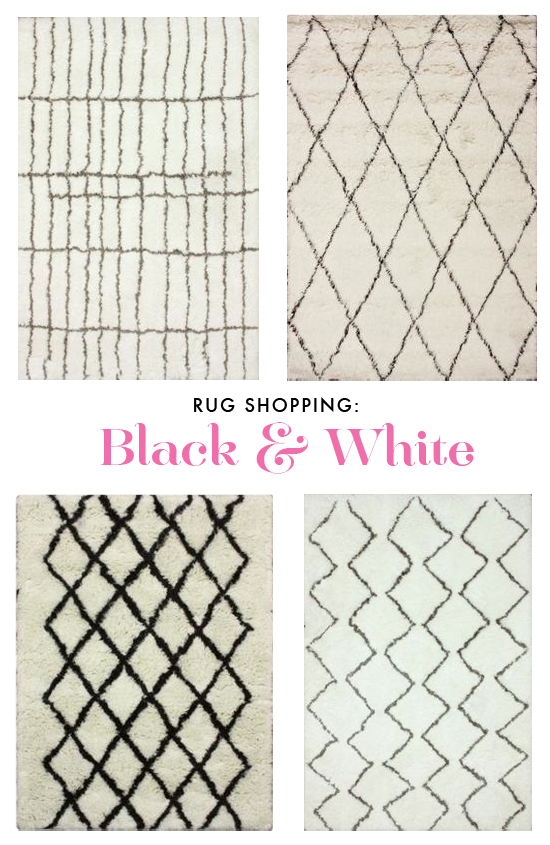
Rug Sources: 1. Square Plush (Natural) 2. Aklim Shag (Ivory) 3. Tifelt Shag (Ivory) 4. Three Row Plush (Natural)
3. Geometric rugs. Geometric rugs are bold, youthful, and modern. And I love all the fun, fresh colors that they come in. The bright ones would be perfect for a kid’s room (or any room where you want to add some color and pattern). If you prefer a darker, more grown-up version like the one above (from Aramide Esube’s living room), check out this navy blue one. It’s practically identical.
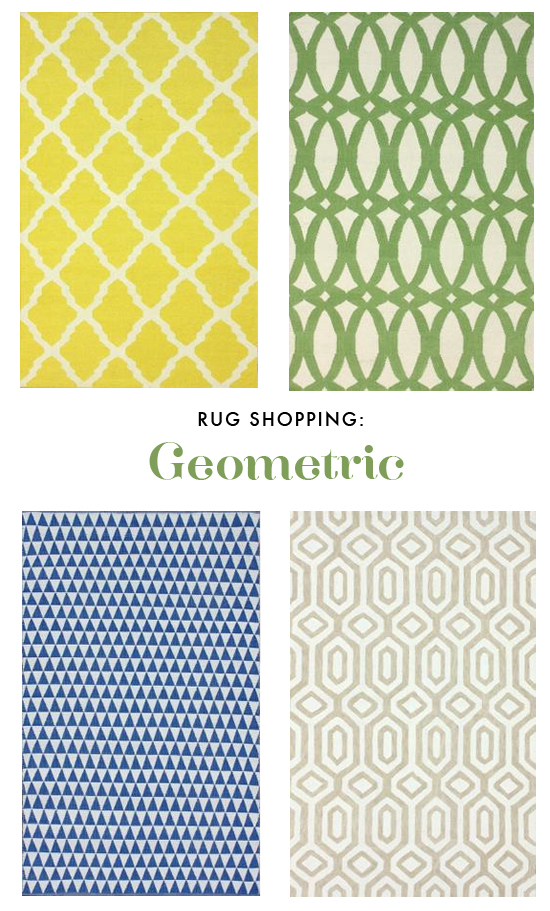
Rug Sources: 1. Bold Curve Trellis (Yellow) 2. Interlocking Swirl (Green) 3. Spectrum (Royal Blue) 4. Capella (Dove Grey)
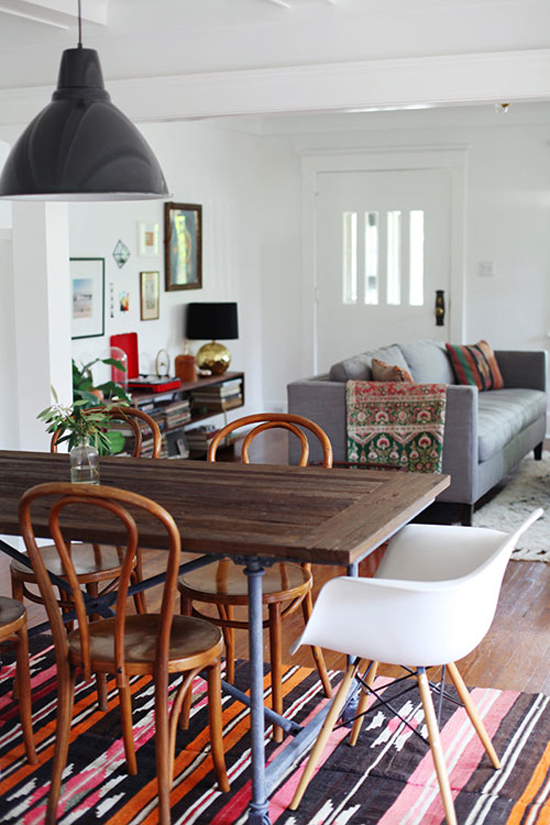
4. Kilim rugs. Kilim rugs are flat-woven tapestry rugs. They’re thinner and not as plush, but that can make them really great for rooms where you don’t want something with a thick pile (like the dining room). It also makes them perfect for layering over another rug, like a sisal! I think that black floral kilim is just gorgeous. In fact, if I won this giveaway--which, obviously, I can’t--I’m pretty sure that’s where I’d spend the gift card.
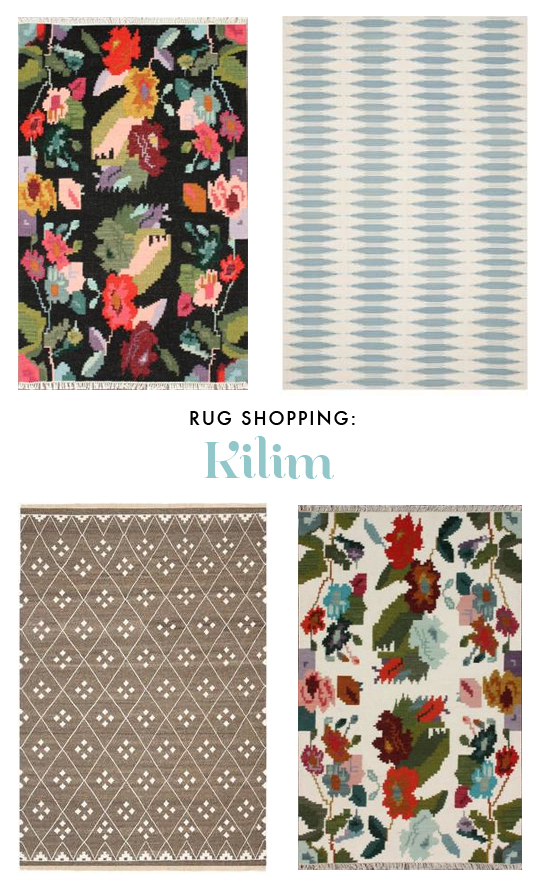
Rug Sources: 1. Blossoming Kilim (Black Multi) 2. NVK179A (Multi) 3. NKM316A (Brown, Ivory) 4. Blossoming Kilim (White Multi)
Sooo you want to know how to enter that giveaway? I bet. I’m already jealous of the winner!
Here’s how it will work:
PlushRugs is developing a discussion & review section where customers can post comments, questions, etc. about any rug on the site. To enter the giveaway, head over to their site and post a comment on the rug that you like best. Make sure you enter your email address so they can confirm your entry. Come back here and paste the url of that rug in the Rafflecopter below. That will unlock 5 additional ways for you to earn entries! The contest will run for one week. Good luck!!
This post was written in partnership with PlushRugs.com.
27
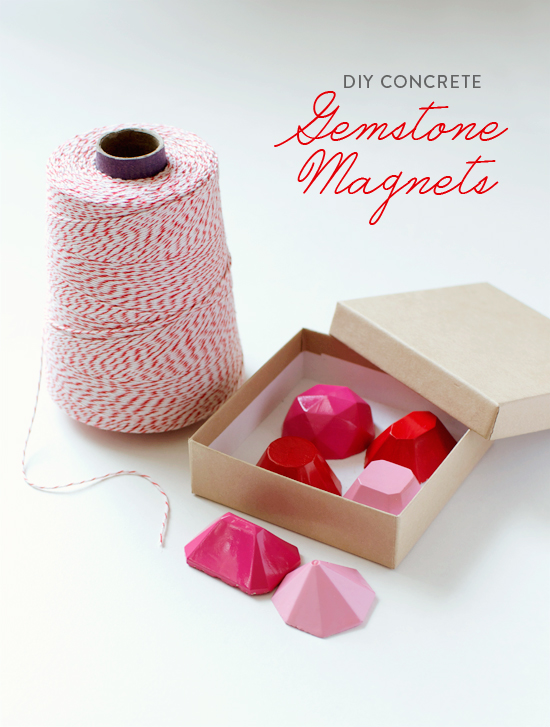
If you follow me on Instagram, you saw a little sneak preview of this project last Saturday. I’ve been meaning to do it for quite awhile, actually--ever since I found the gemstone silicone mold! With Valentine’s day right around the corner, I figured this was the perfect time. This project is pretty similar to the DIY concrete magnets I made back in August…but with some improvements. First off, I used stronger magnets this time, because the last time, I used regular magnets from the craft store and the concrete was a little heavy for them. They can stick to the fridge, but they can’t hold much more than one piece of paper. So this time, I got some neodymium ones. I also decided to paint the magnets this time. I like color, but you can also leave them concrete if you prefer.
You will need:
-cement, water, and a stir stick
-a cheap bucket for mixing it in
-gemstone silicone ice cube tray (from Amazon)
-neodymium magnets (also from Amazon)
-acrylic paint, varnish, and a paintbrush
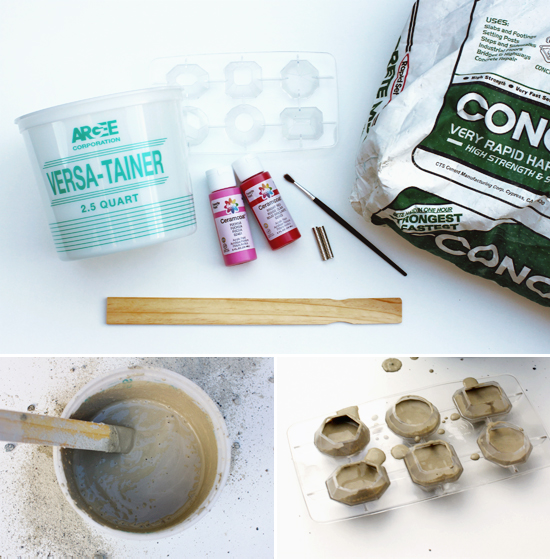
The directions are pretty simple: mix the cement with water in your bucket. You won’t need much. Spoon it into the molds. I only filled them up about two-thirds of the way because I didn’t want my magnets to be too thick.
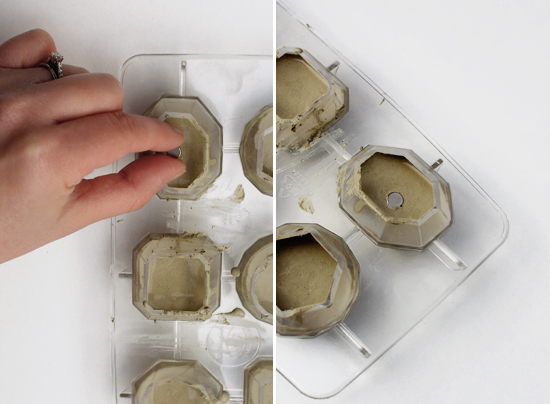
Once the concrete has started to harden a little, carefully place the magnets in the center of each gem. Let the concrete harden all the way (I left mine overnight).
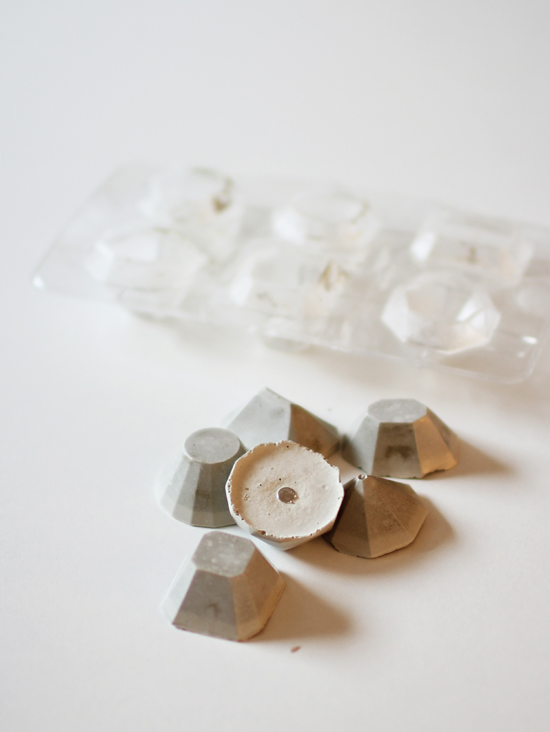
Once the concrete is fully set, pop the concrete gems out of the ice cube tray. Since it’s a silicone mold, this should be fairly easy to do. You’ll notice that the magnets are really secure since the concrete set around them.
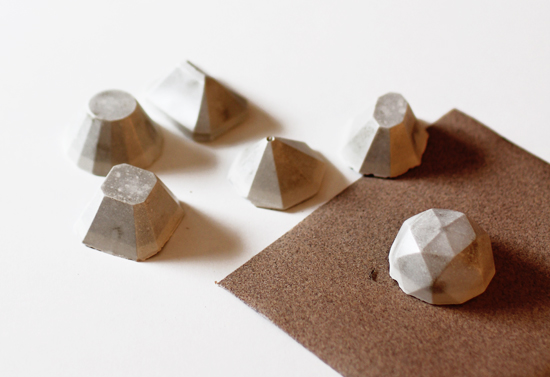
Sand down any ridges that formed around the edges.
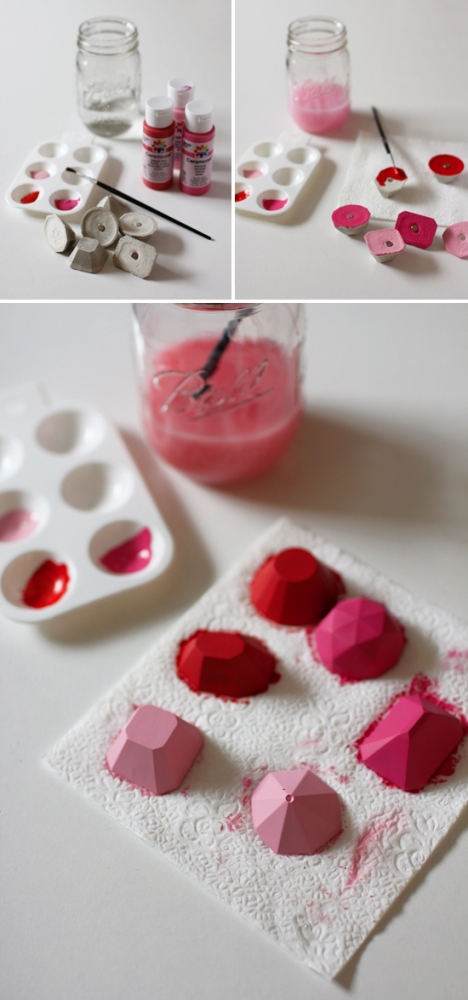
Now you’re ready to paint! You can paint your gems any color you like--I went for red and pink to really play up the Valentine’s Day effect. I painted the bottoms first, and once they were dry I flipped the gems over and painted the tops.
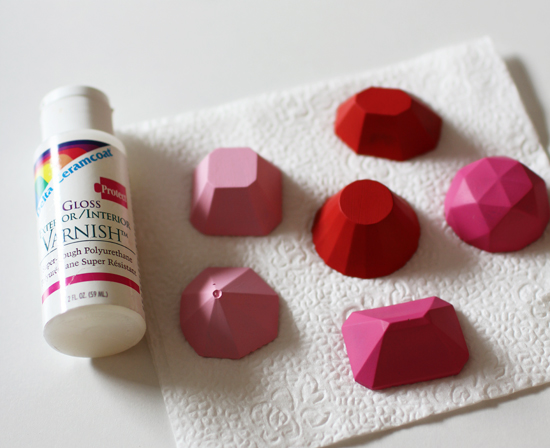
The last step is to add varnish to really make your gemstones shine.
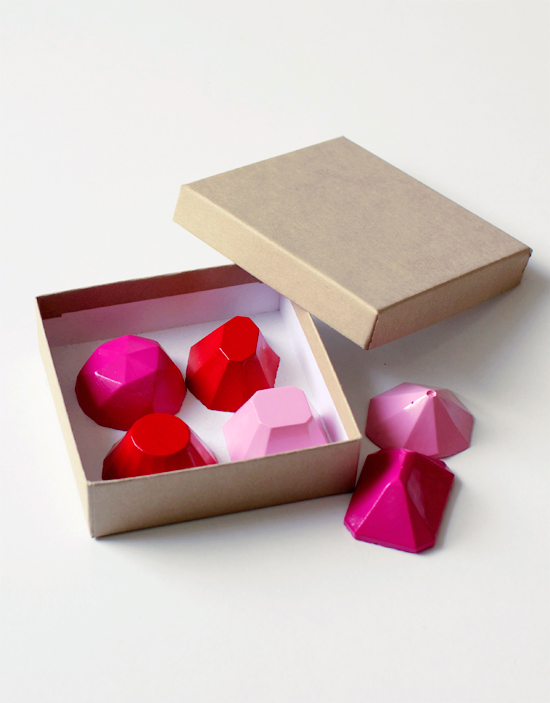
Look how shiny and pretty they are! These are so easy, it wouldn’t take very long to make a bunch. Then you could box them up and give them away as Valentine’s Day gifts! The pink and red ones would be great for girlfriends, coworkers, etc. since they’re pretty girly. For your guy, you might want to keep them concrete, or mix in some different colors like green and blue.
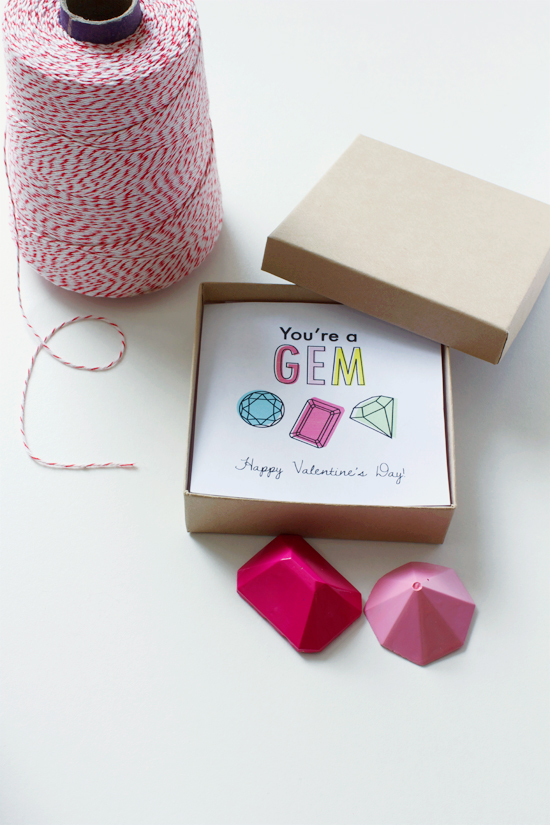
I also made a little printable that you could use, which says: “You’re a Gem. Happy Valentine’s Day!” I couldn’t resist--I love a good play on words. If you’d like to use the template I made, you can download it here!
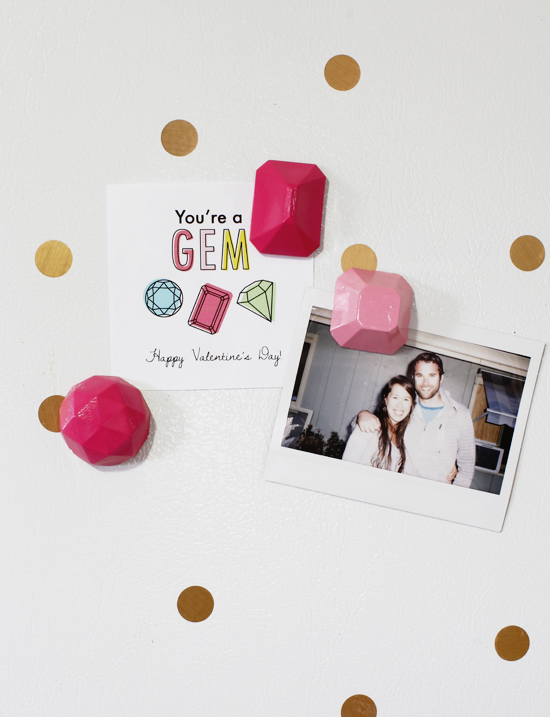
Now our fridge is a little prettier!
Hope you guys enjoyed this little DIY. I think it turned out super cute, and it’s a project that would be sweet any time of year, not just Valentine’s Day. Gemstone magnets would also be great thank-you gifts for bridesmaids, don’t you think?
P.S. If you liked this post, you should also check out the one I wrote with all kinds of cute gemstone/faceted ideas.
22
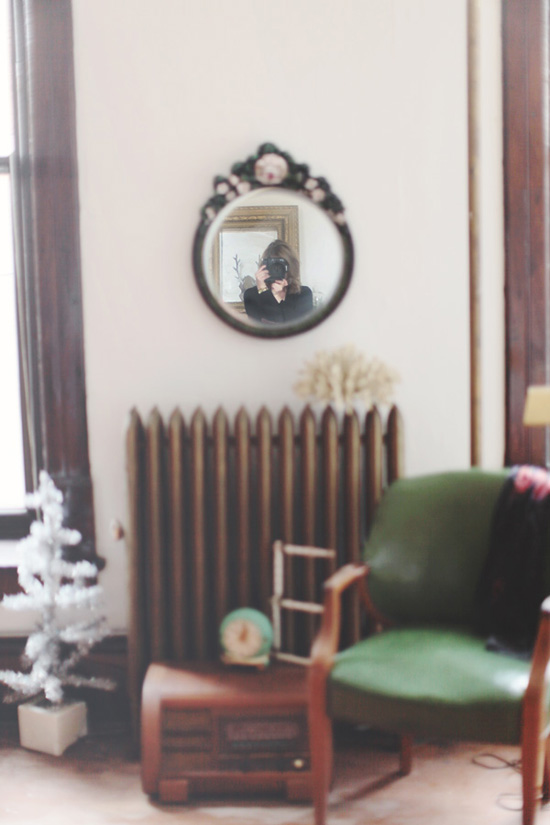
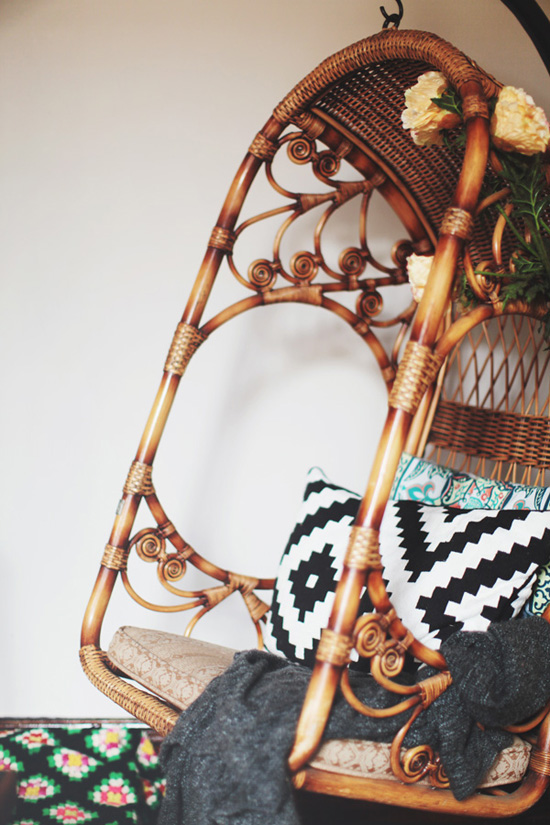
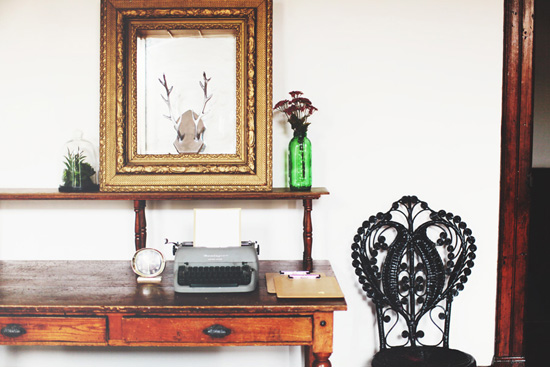
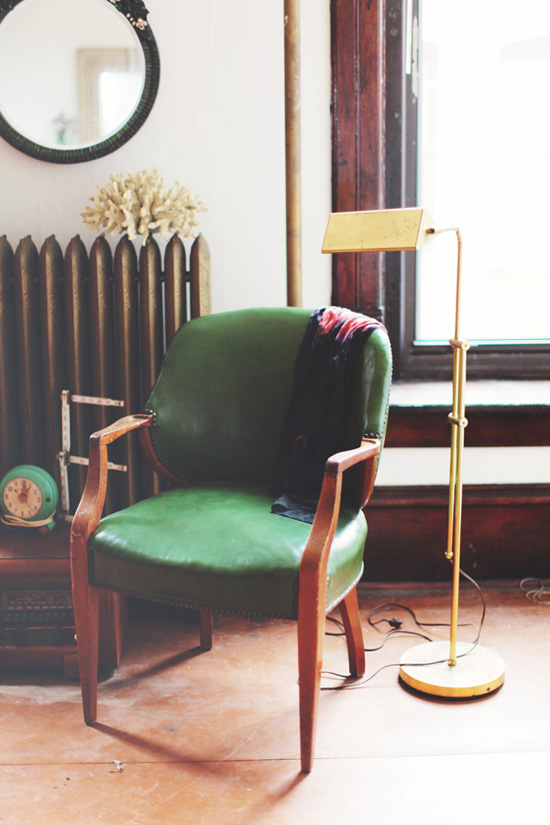
I’m super excited to share some photos today of Elisabeth Eden’s drool-worthy photography studio. I sure wish my workplace was this pretty!! I love all the vintage treasures that she’s used to fill the space and make it feel cozy…starting with that tufted sofa. Yes, please!
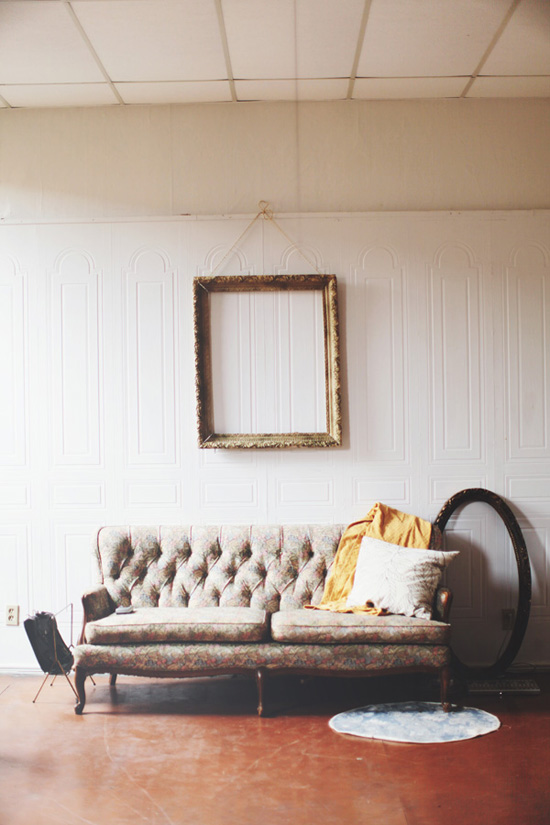
Love the idea of hanging empty frames as well. When they’re pretty and ornate like these ones, they can totally hold their own.
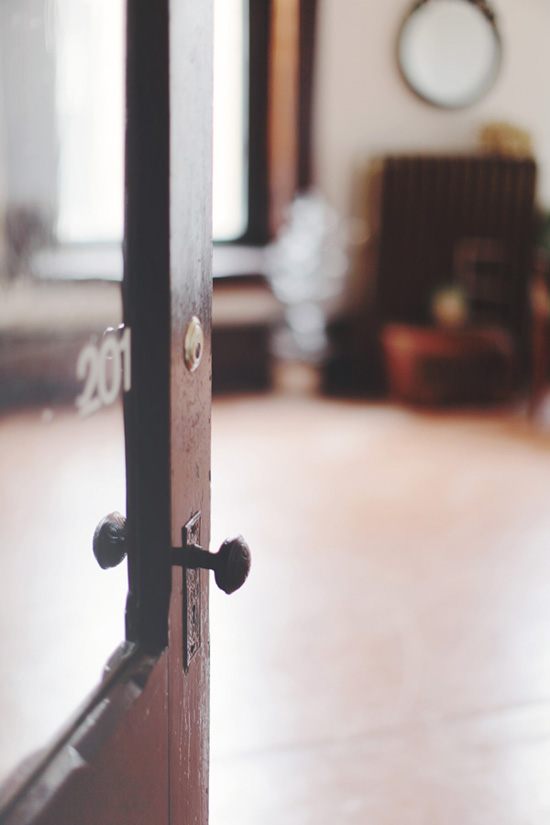
And that old door! Swoon.

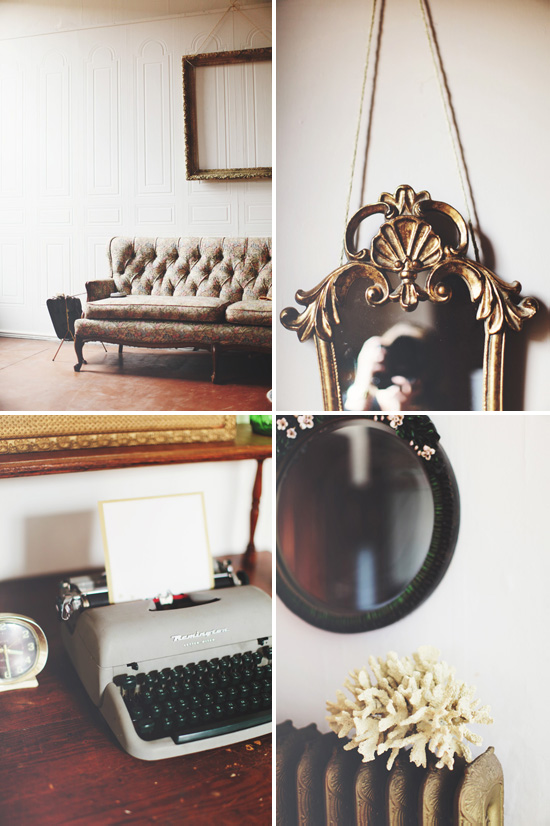
Her typewriter looks so similar to mine!
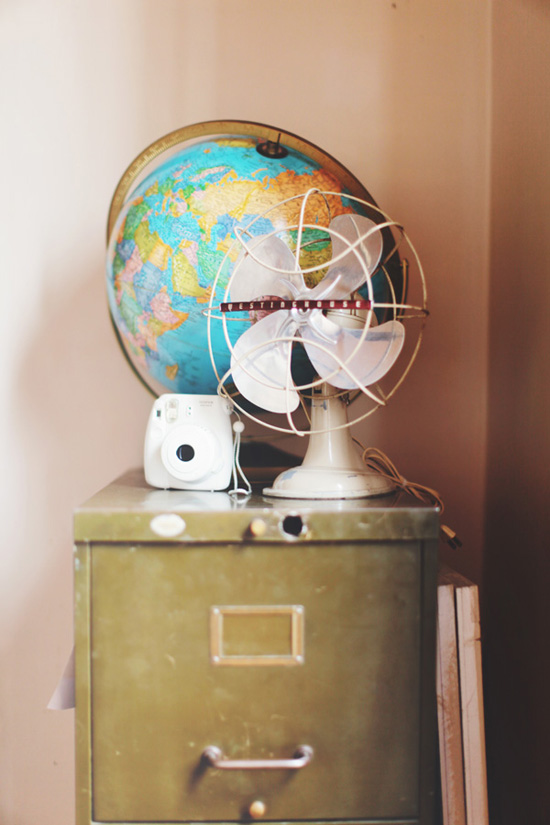

And I adore that bright turquoise alarm clock. Old clocks are just so cute!
What’s your favorite detail or corner of her studio?
All photos by Elisabeth Eden.
- Search
- Archives
