09
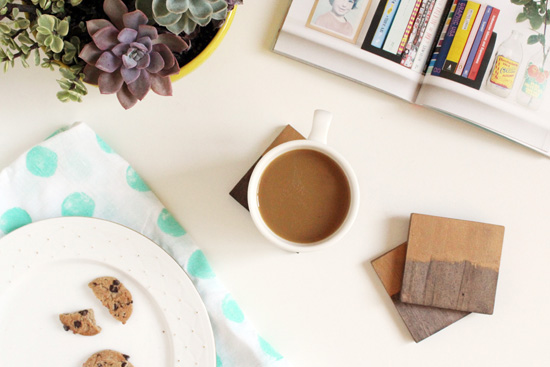
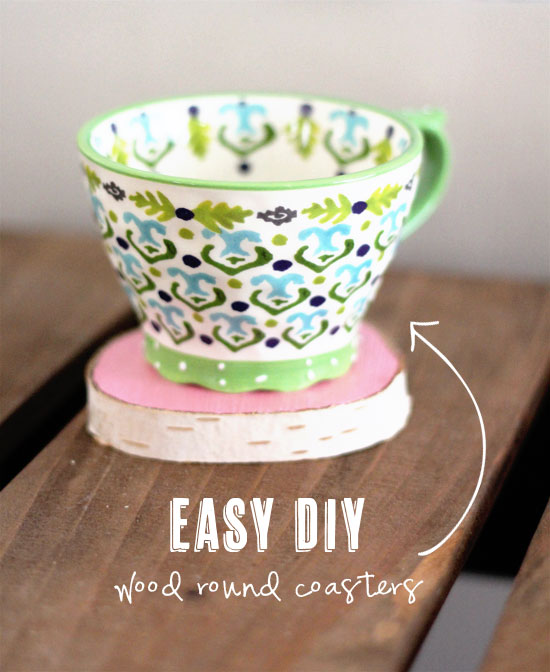
Hi! My name is Ann-Marie Morris and I am so thrilled to be guest posting here on At Home In Love today! As someone who has always been obsessed with making things with her own two hands, I am all about the DIY movement. If I'm not perusing Pinterest for inspiration, you can find me walking through craft, hardware, and thrift stores, browsing each and every aisle, and dreaming of all the ways I can turn unexpected materials into something fantastic. So today, I thought it would be fun to share how I made gold-dipped coasters using a handful of basic craft supplies.
Supplies /
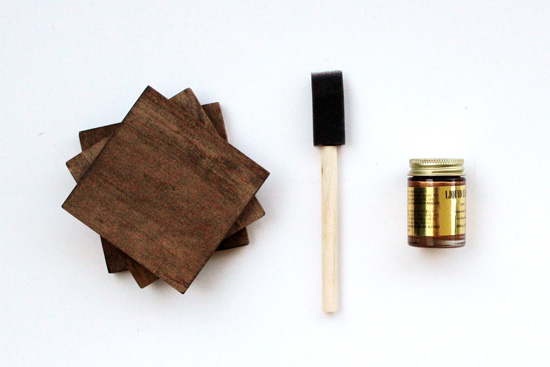
- 3/16" thick plywood
- wood stain
- gold leafing paint
- foam brush
- table saw (optional)
- sandpaper (optional)
Instructions /
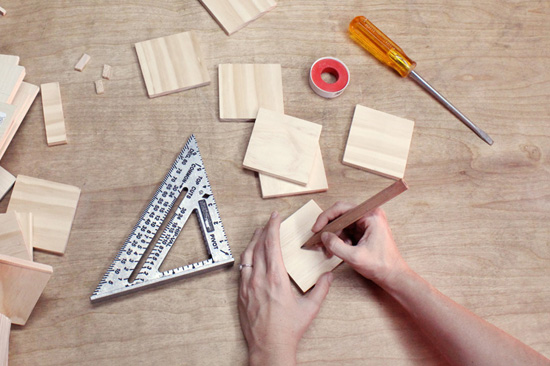
1. Take a 3/16" thick sheet of plywood and cut it into 3.5 x 3.5" squares using a table saw. (Note: If you don't have access to a table saw, most hardware stores will cut wood upon request.)
2. Sand the edges of each coaster until each end is smooth.
3. Using any wood stain (I went with a chestnut shade), apply a few coats to each coaster until you are satisfied with the color saturation. The secret to wood staining is to, first of all, wear gloves (not that I'm speaking from experience or anything) and second, to wipe off the excess paint with a rag as you go.
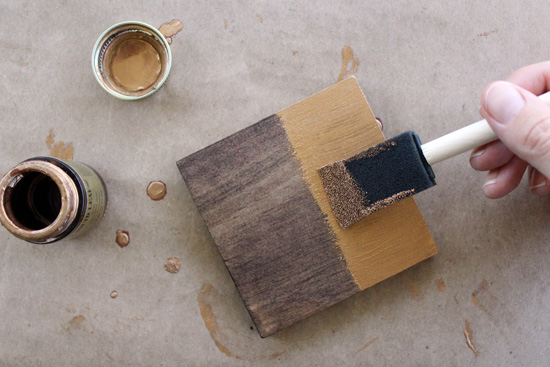
4. Once the wood stain is completely dry, dip a foam brush in gold leafing paint and loosely apply to half of each coaster. Let dry. Flip over and repeat on the opposite side. Apply as many coats as necessary.
5. Enjoy your new coasters!
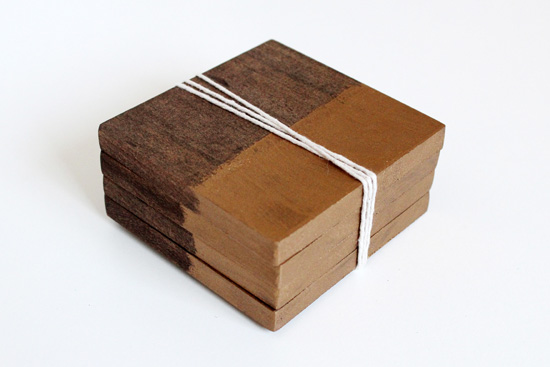
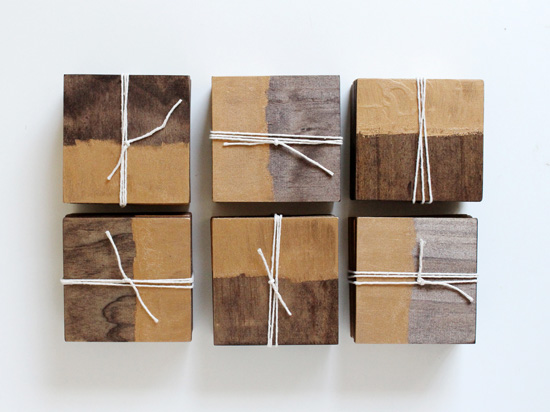
I created four coasters for each of my bridesmaids as a small gift for throwing me an amazing bridal shower. Everyone needs a place to put their drinks, right? Plus, I'm hoping that these fun coasters will inspire cocktail parties or Sunday morning brunches in the near future! ;)
Find Ann-Marie on: Blog | Instagram | Twitter | Facebook | Pinterest


super cute!
kw ladies in navy
Wow! This is such a cute idea and could be a great stocking-stuffer for Christmas. Thanks for the idea!
A great gift idea!
Love this! So simple & cute!
Too cute! What an easy little decoration! This would make a fabulous little gift or addition to a gift basket.
These would be such great favors for a wedding as well :)
Found your blog through Ann-Marie's! Cute DIY annnnnd now I'm going to poke around here some more :)
These are stunning! Ill need to make these for stocking stuffers :)